


Loading several characters in one gcha file using skeleton overrides
As of August 5th, 2025, Golaem will no longer provide direct support.
All support for Autodesk Golaem will now be handled exclusively through Autodesk support channels and this website will be deactivated soon.
Please bookmark the Autodesk Golaem Support section for any future support needs related to Autodesk Golaem packages.
Renderpeople offers a library of many characters ready to use, but when looking at them, you will realize that if they share the same skeleton hierarchy, they don't share the same skeleton dimensions. As Golaem relies on a single skeleton definition to bring diversity into an entity type, one could think that the only way to import them in Golaem is to configure one .gcha for each Renderpeople character. But using one .gcha per character means one entity type per character when doing the simulation, and while it's doable, it can become a bit cumbersom when dealing with many kind of characters. Luckily, there is a way to combine several Renderpeople characters within a single Golaem .gcha file and benefit from the diversity it brings in simulations, as it will be explained in the following tutorial.
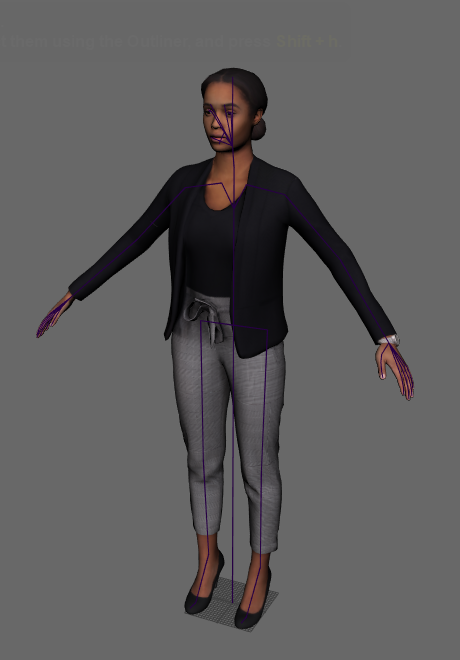
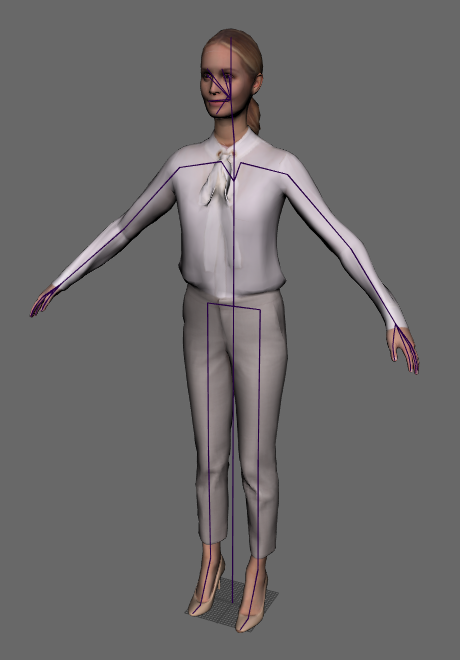
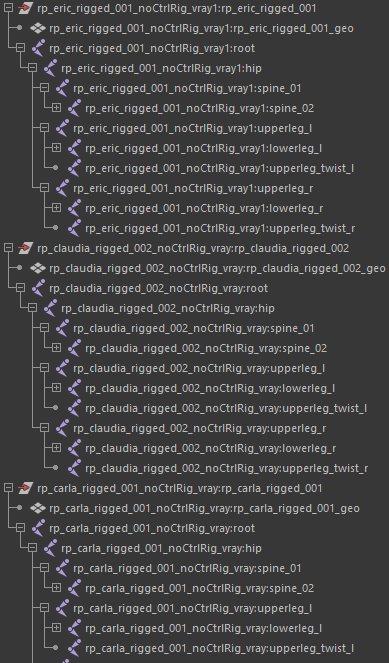
Let's start by importing some characters downloaded from the Renderpeople website:
 |
 |
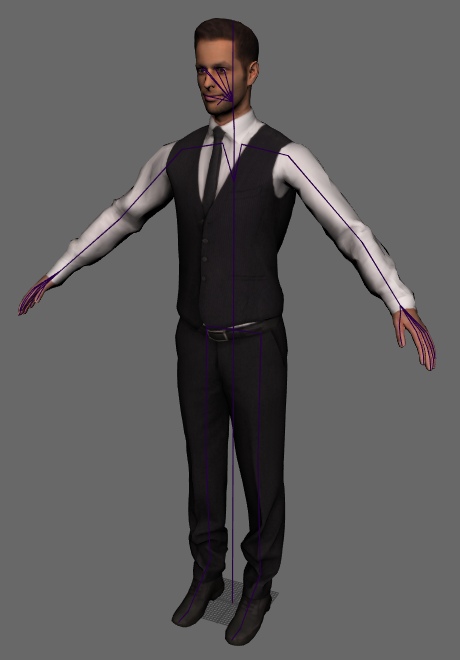 |
Exemple of Renderpeople characters imported in Maya (needs to be rigged)
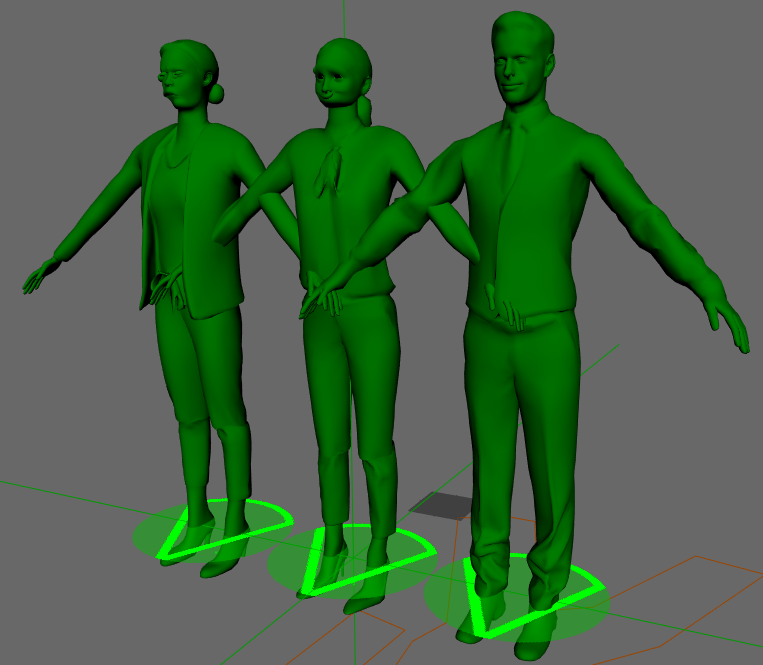
When all shown together, it's obvious that the skeletons have different morphologies (even if thay share the same bone names and hierarchy):
Different morphologies for each character
The important thing before going further is to make sure that all characters do share:
- the posture (despite the different morphology)
- the skeleton hierarchy
- the bone names
In our case, we imported the characters with namespace, so we need to remove them to make sure the bone names are the same for each character:
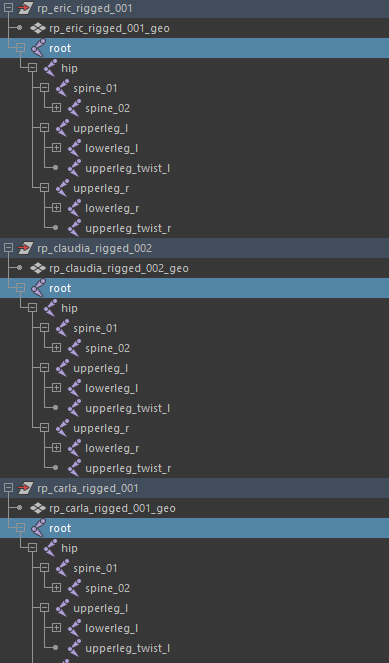
Skeletons with (left) and without namespace (right)
It's now time to import the characters in Golaem. Open the Character Maker  and load one of the root skeletons. Hit the Auto Compute Skeleton mapping for a first rough definition of the character's skeleton mapping.
It's important to load the skeleton with the Detection Mode set to "Current Values" for a correct detection of skeleton overrides in the next steps of this tutorial.
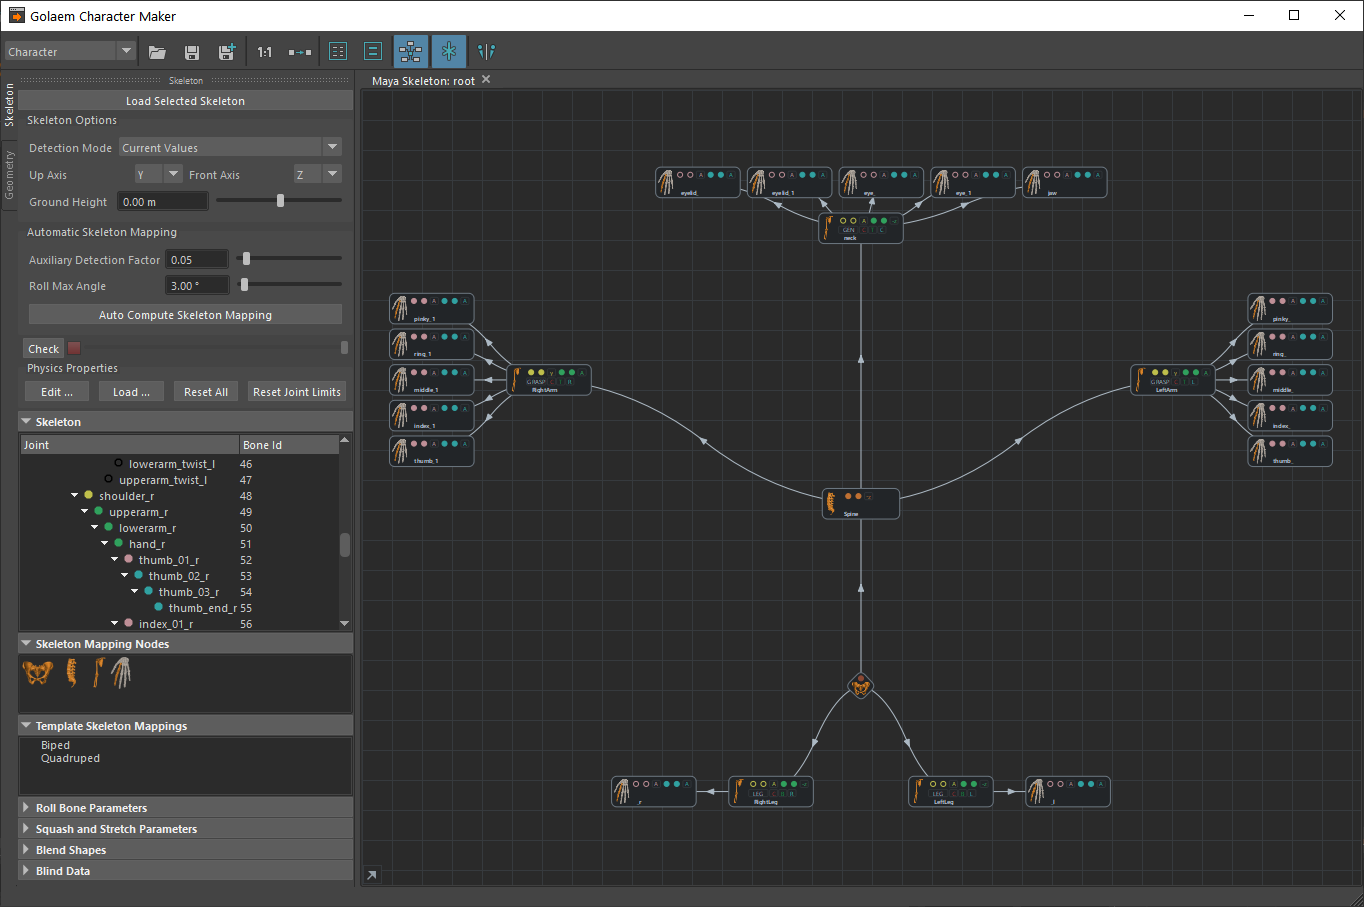
Auto Compute the skeleton mapping with the RenderPeople character
It's now time to switch in the Geometry tab of the CharacterMaker and import the meshes for all the characters (simply select them and click the Import Geometry button  ). Add a few Asset Groups nodes and link them altogether untill you have the following graph:
![]()
The geometry nodes graph afer importing the geometry for our 3 characters
Important notice : one character can only use one skeleton, with one skeleton override. Mesh and fur props (hairs, accessories, etc) cannot be shared among several characters, because they would need a different override than the character they are attached to, which is not handled.
Set the rendering types, select the Character node and export the geometry file:
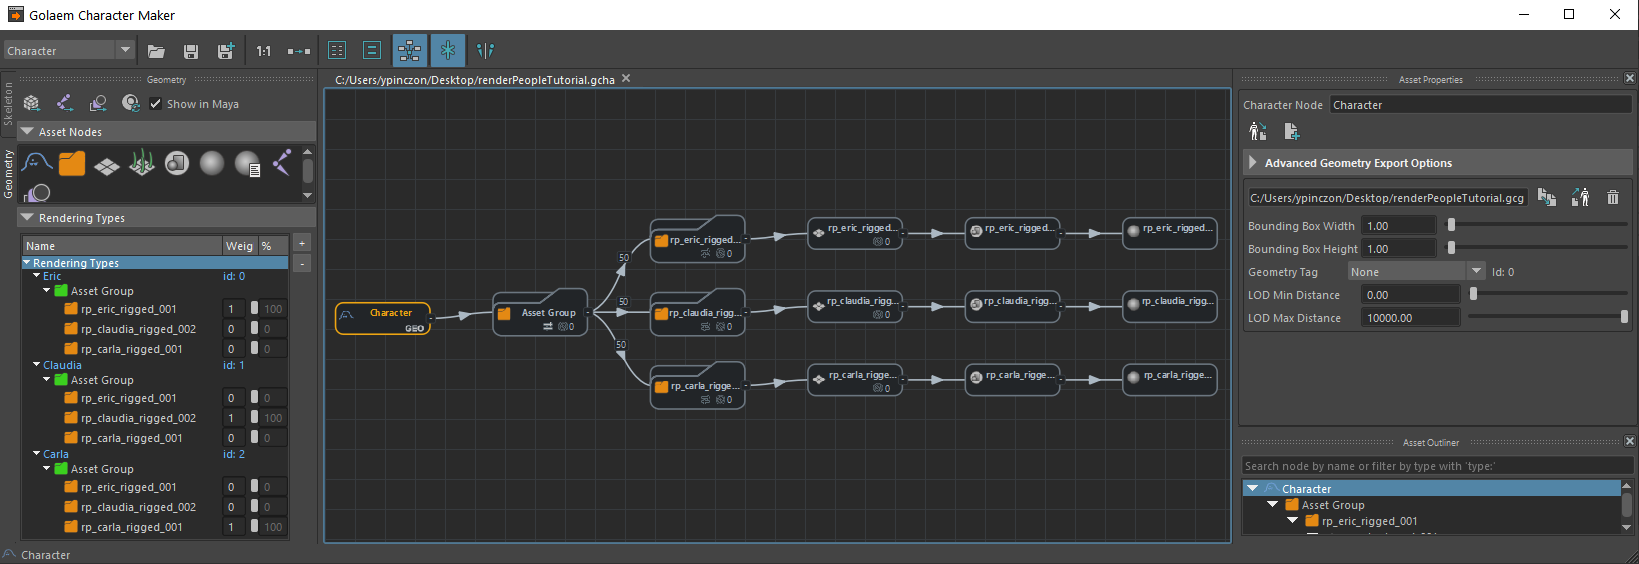
Redenring types and .gcg file
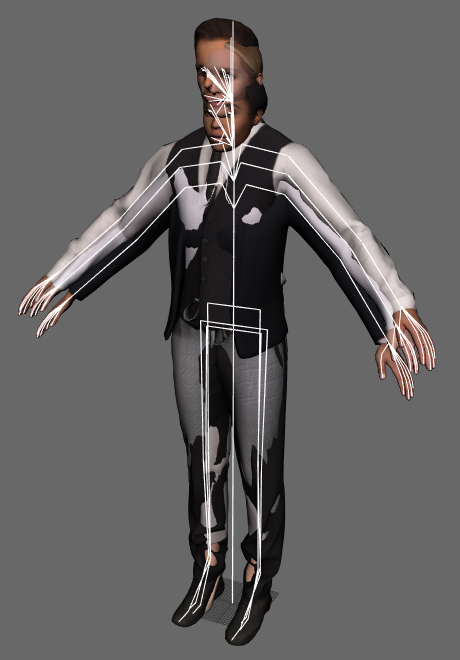
If you save your .gcha character at this step, and try to use it in a simulation, one of the character will be displayed correcly, but all others will be badly skinned:
Wrong skinning results
To fix this, we will now import the skeleton overrides for each character.
Select the root node of one of the Renderpeople character in Maya, and click the Import Skeleton Override button  in the Geometry tab of the character maker. This should import a Skeleton Override node named from the root bone. Link it with the correct asset node, and do this again for each character:
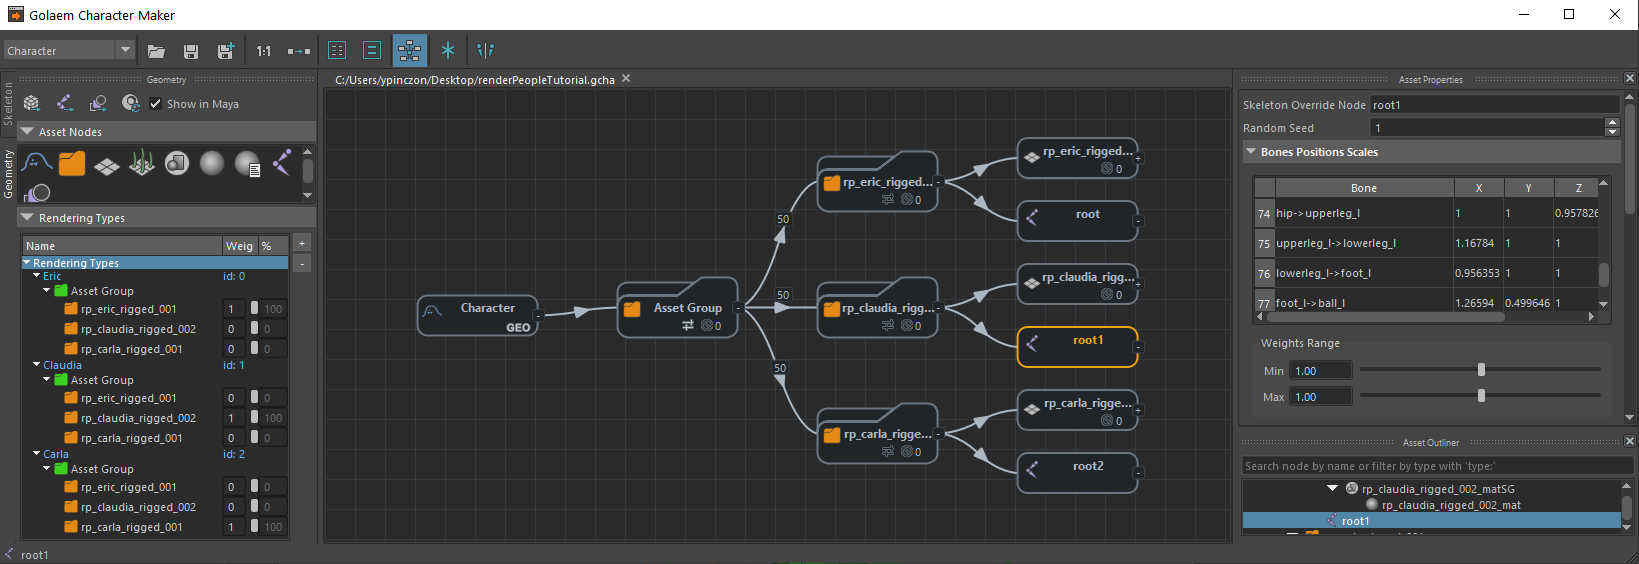
Importing the skeleton override for each character
If you restart a simulation now, previz and rendering should both be correct.
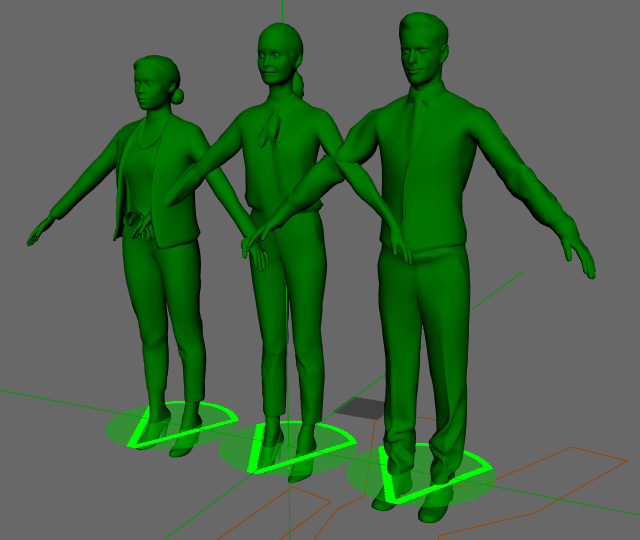
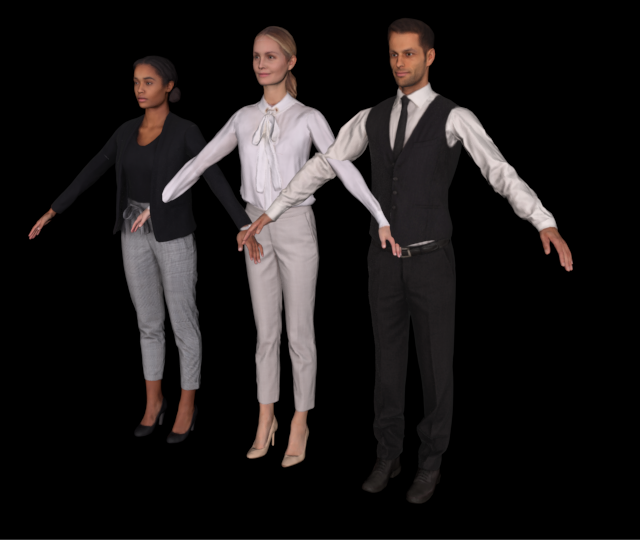
Both the previz (left) and render (right) are now correct with Renderpeople characters