Splitting Meshes for variety generation
As of August 5th, 2025, Golaem will no longer provide direct support.
All support for Autodesk Golaem will now be handled exclusively through Autodesk support channels and this website will be deactivated soon.
Please bookmark the Autodesk Golaem Support section for any future support needs related to Autodesk Golaem packages.
To be able to create assets/props diversity, your character must be splitted in several parts (see Defining Geometry)
When dealing with existing characters, it may be useful to split an existing mesh in parts.
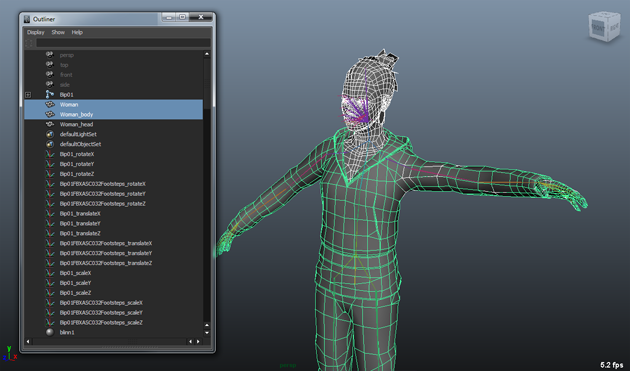
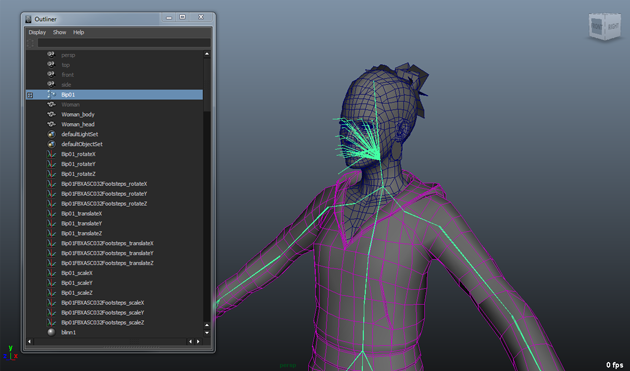
In the example below, we’ll split a skinned character mesh (Woman)into 2 pieces
- one for the head/torso (Woman_head)
- the other for the body (Woman_body).
1) Duplicate (Ctrl+D) your character geometry twice. By using the regular Duplicate Tool, the skinning is lost on the copied geometry. Rename your geometries to Woman_head and Woman_body.
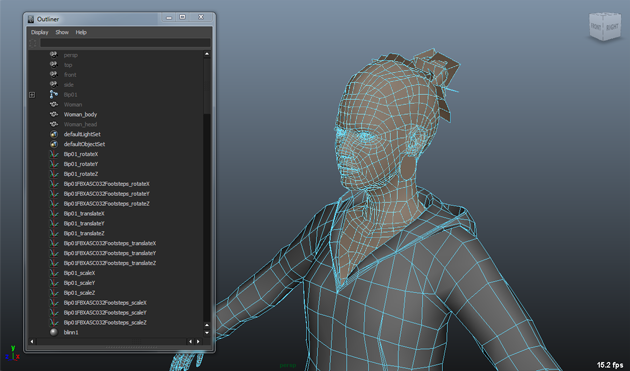
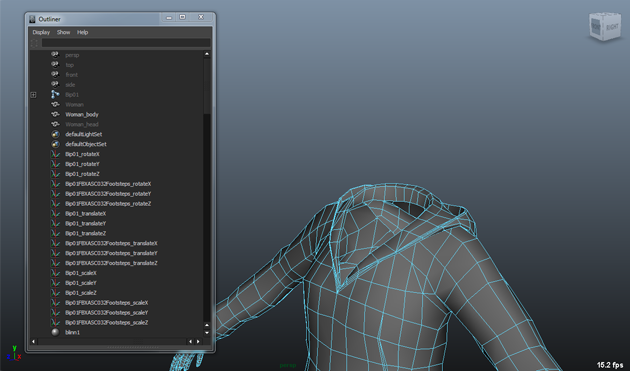
2) Hide Woman & Woman_Head. Go in Face Select Mode (F11), select Woman_Body and remove all the faces which belong to the head and torso. Process the same way with Woman_Head
3) Now, we've got two complementary meshes. Let’s apply the skinning.
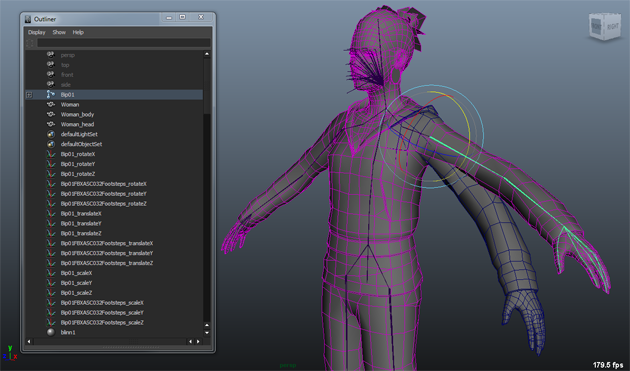
4) First, we need to specify that the two meshes (Woman_Head & Woman_Body) are skin cluster. First select your skeleton hierarchy root joint , then select Woman_Body and go to the Animation Menu ⇒ Skin ⇒ Bind Skin ⇒ Smooth Bind. When selecting the skeleton root, your mesh now appears in pink. Proceed the same way with Woman_Head.
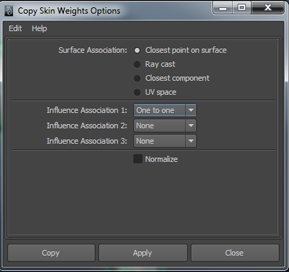
5) Last step but not least, apply the exact skinning weight we had on our original geometry. First select the hidden mesh Woman, then select Woman_Body and go to the Animation Menu ⇒ Skin ⇒ Edit Smooth Skin ⇒ Copy Skin Weights Advanced Menu ⇒ Chose the following options. Proceed the same way with with Woman_Head.
6) Just check that your new meshes behave the same way than the original one (joint orientation, scale…), and you’re done!