Mini-planet tutorial
As of August 5th, 2025, Golaem will no longer provide direct support.
All support for Autodesk Golaem will now be handled exclusively through Autodesk support channels and this website will be deactivated.
Please bookmark the Autodesk Golaem Support section for any future support needs related to Autodesk Golaem packages.
Since Golaem 6.3, the navigation & animation are compliant with full 3D environment. This allow a few effects that were not possible before, or with important limitations (meshPin would allow this, but without precise feet-ground adaptation nor avoidance or path planning). Here is a quick tutorial on building a small planet, Antoine de Saint Exupery' Little Prince style.
This tutorial uses the following features :
- NavigationMesh creation from the triangulated MayaMesh (no voxels)
- Population Tool to generate our crowd. This tutorial uses the "OrientOnNormal" placement.
- Navigation
Because the tutorial already covers several areas of Golaem, it assumes that you know how to load character, place them, make them navigate around a scene and start/stop behaviors based on triggers. If not, please read the Quickstart, Populate City Streets, Stadium Basic Workflow tutorials or watch the Golaem Workflow Overview video.
If you do not have a character to play with, we will provide ours in the Golaem Character Pack
When is using Full 3d navigation needed?
Creating the environment
We will start with a sphere big enough to serve as a ground for our usual character pack crowd man, something like 30 units as radius. You can go in F9 mode and remove a few faces to make some variations inside the sphere for test purposes.
Go back in F8 mode, select the sphere, and produce a terrain with the drop down option "Generate NavMesh from MayaMesh triangulated faces". This option builds 3D road map and nav mesh, which allow for example to navigate from the top of a sphere to its bottom. The voxel navigation mesh does not allow that as it will use one of the world dimensions as the up reference, allowing to deduce step heights, slopes, and such things.
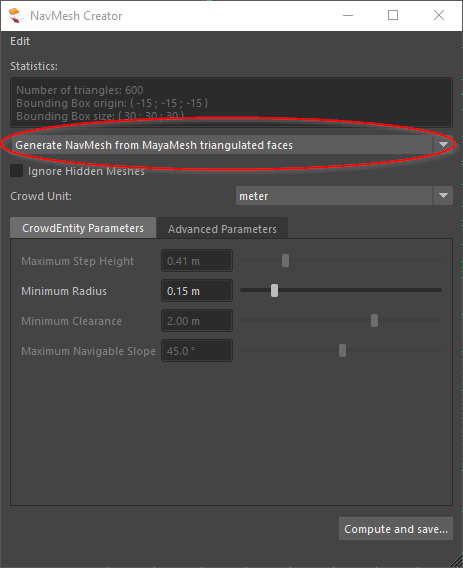
You should end up with something like this :
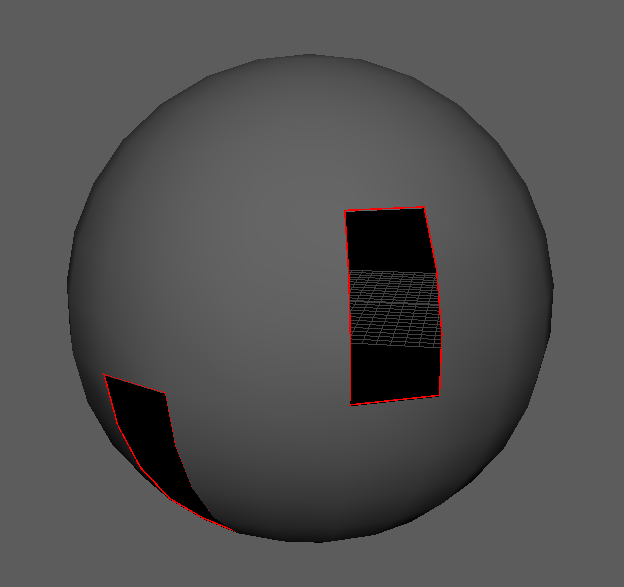
Note that you may need to adjust the unit depending on the size of your cube/characters.
After the terrain is created, if needed, do not forget to also adjust the CrowdManager unit to the same unit as the one used for your terrain.
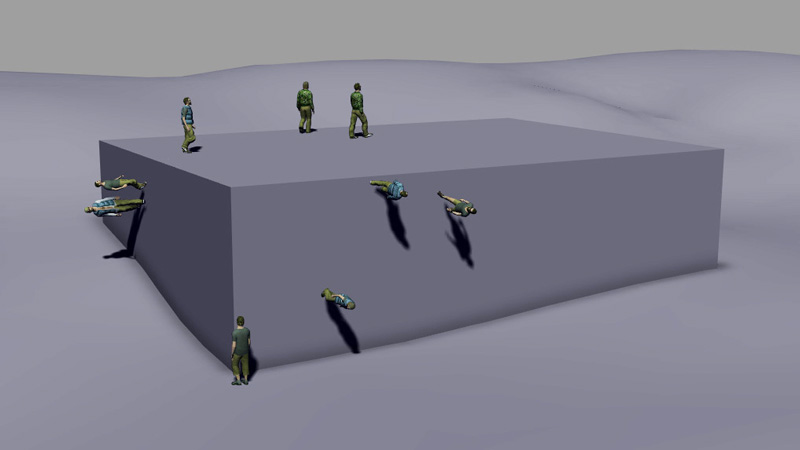
Once the terrain has been created, we have a thing to configure. If the terrain is let with default option, the entities by default will try to keep their "up" vector from the start frame. This would give the feeling that the entities are going "down the sphere" in their referential. To keep the entities aligned with the sphere normals, we need to set two parameters on the terrain, which are "pin on ground" to keep entities feet in contact with the ground, and "orient on ground normal" to adapt the entities referential to the sphere normals.

Populating our mini world
Create your Entity, and load your character file. Adjust its min/max scale if needed, depending on the scale of your environment. The casual man light of the Golaem Character Pack is a good entry point for testing this.
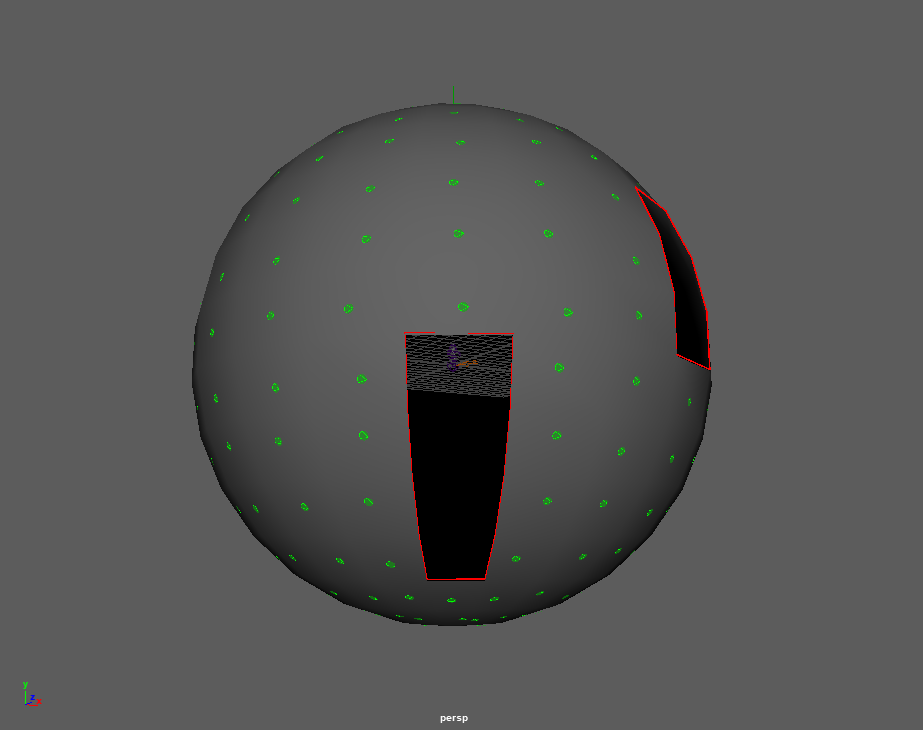
Next we are going to make our characters being generated. A simple Population Tool with the "Orient On Ground Normal" option checked, will generate the crowd people as expected. The population could either be a standard grid one, but each population tool will only populate a projected part of the sphere (based on the population tool up vector). Thus we will use a "component" placement instead. Let go in F11/ face component mode. Select all faces where you want someone to appear, then press the Population Tool icon and select component mode  (display tool settings if needed). On the population tool attributes, select the "orient on ground normal" option to have the slots use the sphere normals as up vector. Here is the result with the population tool added :
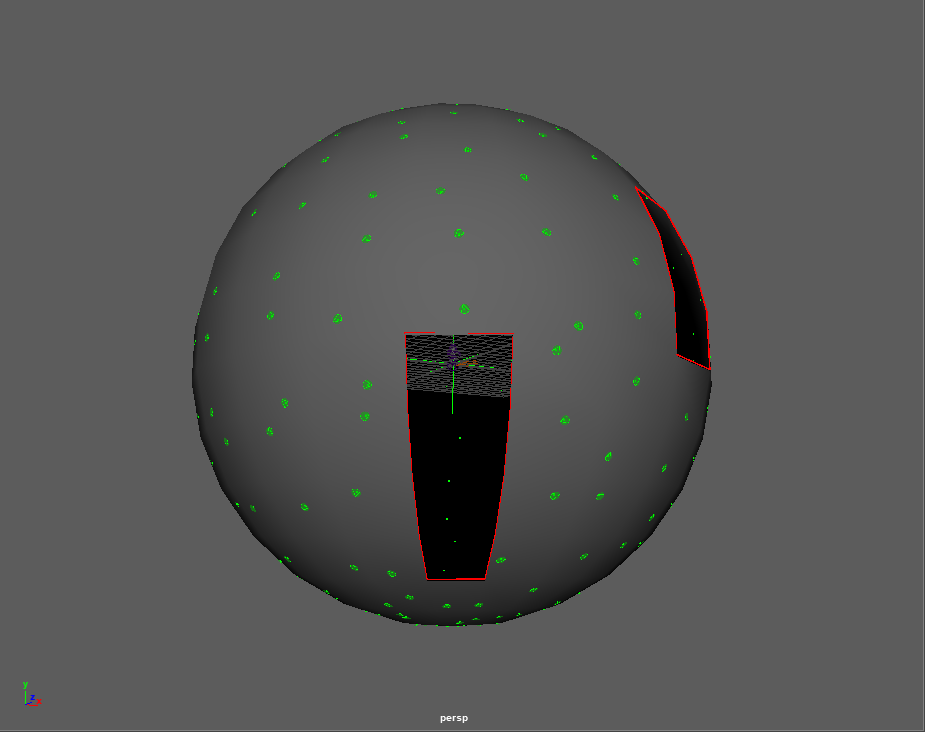
Playing with the distance / distance noise and orientation noise, the result can be more natural :
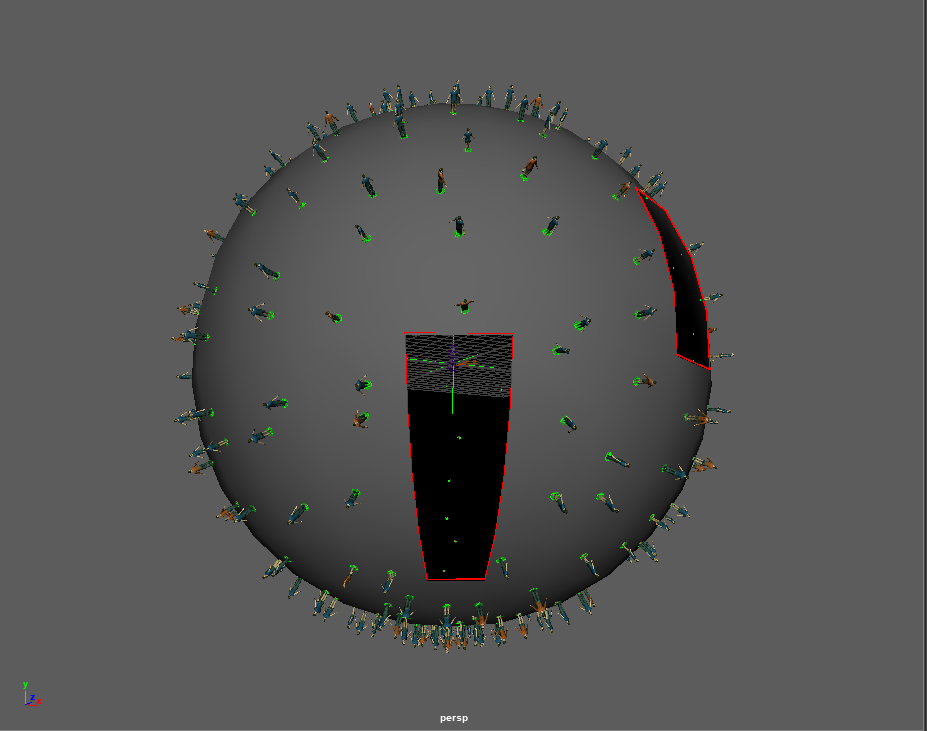
And finally, hit create and play to see the population :
Making our characters navigate in the environment
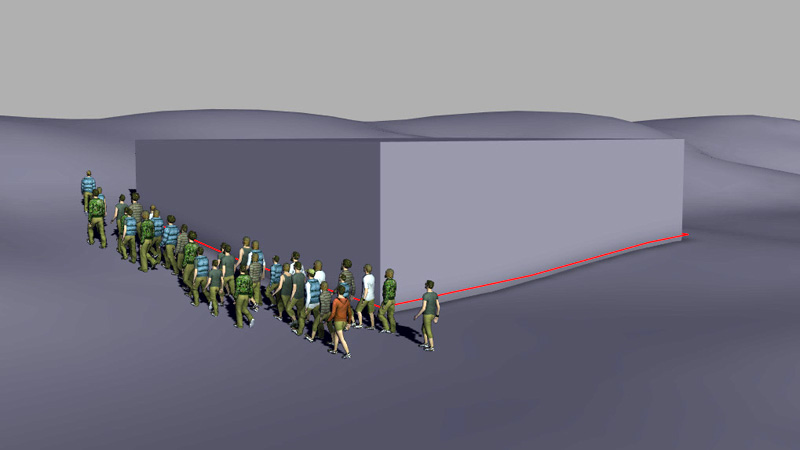
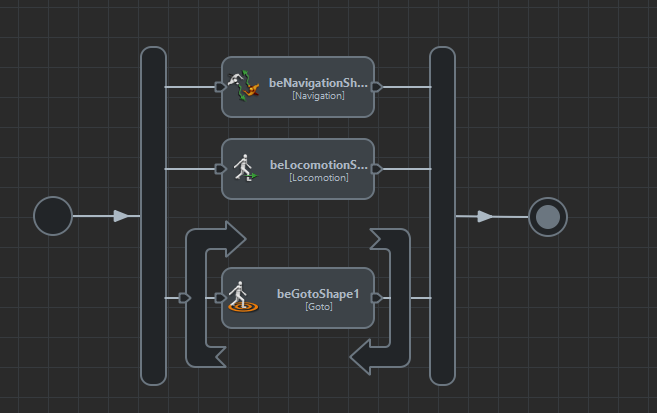
As usual, add a Navigation Behavior and a Goto Behavior in parrallel. You will notice that we embbeded our Goto Behavior in a Loop Operator, so that the characters keep finding and reaching a random target. Otherwise they would just stop after reaching the first target they choose.
Then add a Locomotion Behavior with different motion speeds and a rest motion. See the locomotion tutorial for a detail setup of locomotion for "casualMan" asset.
Play your simulation, and enjoy a simple as hell mini-planet setup :