


Golaem Crowd provides procedural shaders to simplify adding shaders diversity in your crowds.
See the texture / material diversity and color variation tutorials
Golaem Crowd provides procedural shaders to simplify adding shaders diversity in your crowds.
See the texture / material diversity and color variation tutorials
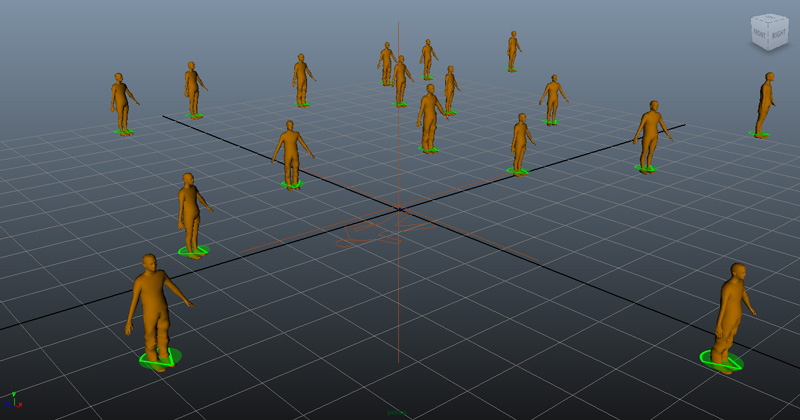
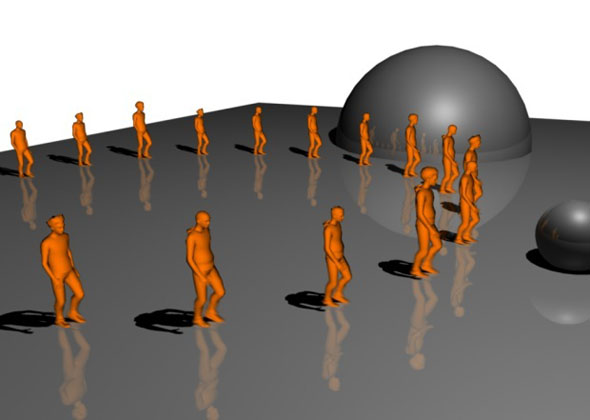
When a shader is not found in the scene (see below to understand how Golaem look for them), Golaem applies its default orange shader.
You need to import the corresponding shaders in the scene (or make visible the meshes they are applied to).
See the below for more details
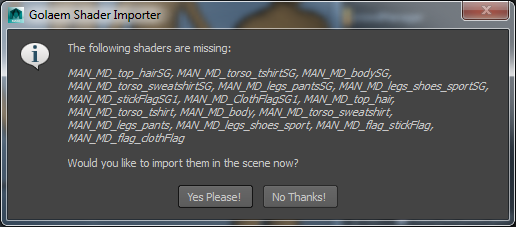
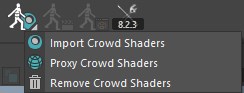
If you did not import shaders for your characters when creating your EntityType, you can still import them afterwards.
Use the Import Shaders button  . Golaem will analyze the scene and based on the Character File used, will display which shaders are missing and propose to import them. Click Yes Please!

If your Character Shaders have been updated and you need to update them in your rendering scene, you need to first delete the previous version of the Shaders and reimport them. Crowd Shaders can be deleted by using the contextual menu of the Import Shaders Shelf button.
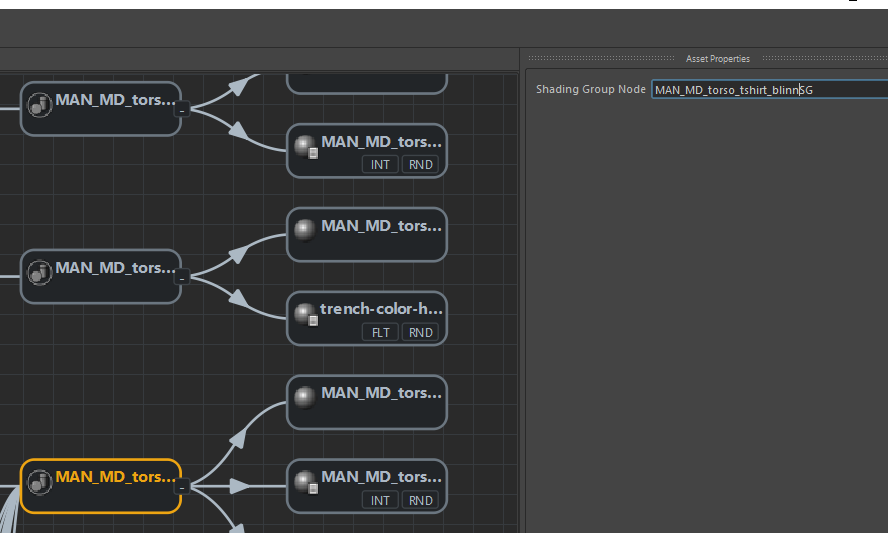
When a Maya Character is imported in Golaem Crowd with the Character Maker, for each Mesh of the Character added to the Geometry List, both the names of the Shading Group and Shaders assigned to this mesh are saved in the Character File (.gcha).

Example of a surface shader and shading group names assigned to a tshirt mesh
At render time, each time an Entity will be generated, its Character File is processed and a list of meshes is computed depending on the Entity Rendering Type and its assets repartition. For each mesh, the name of its Shading Group is read from the Character File (or the name of its Shaders if you're using V-Ray), a node WITH THE EXACT SAME NAME is searched in the current rendering scene and, if found, is assigned.
Due to Maya limitations, to be correctly searched and found, the Shading Group / Shader nodes must be in the Maya scene which will be rendered and assigned to a not-hidden geometry (but the Primary Visibility of the geometry can be unchecked).
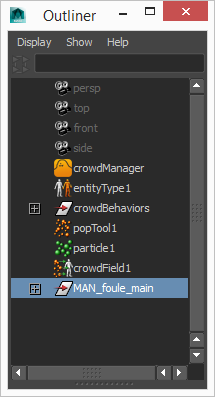
Thus, Shading Group /Shaders don't have to be saved in the Character Geometry File (.fbx) but can be saved in a regular Maya file which can be imported when needed (using the Crowd Render Menu / Import Shaders)
As explained here, shading assignment is simply done by attaching a Shading Group / Shader name to a Mesh name in the Character File (.gcha). If you'd like to change the Shader assigned to a Mesh, you just have to rename it in the Character File (right click / Rename):
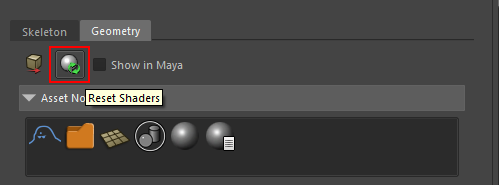
If a massive change of Shading assignment as been made on a Maya Character, you can also import it in clean Maya Scene, open your Character File with the Character Maker, select the highest node in the tree list you'd like to update and use the Reset Shaders tool. It will look at the list of meshes listed in the Character File selection, find geometry nodes with the exact same names in Maya and refresh the names of the Shading Groups / Shaders in the Character File based on the Maya scene.
That's it! The Character Geometry File (.fbx) don't need to be updated as it's not involved at all in the Shading Process.
When the render starts, the rendering engine translates the Maya rendering scene in its own file format (.vrscene for V-Ray, .ass for Arnold...). Thus, as shading assignment is simply done by attaching a Shading Group / Shader name to a Mesh, the required Shading Group / Shader nodes need to be translated as well in the rendering engine file format. To do so, those Shading Group / Shaders need to be imported in the scene and assigned to an active geometry (not hidden). If they are not assigned or assigned to an hidden geometry, the rendering engine optimizes the translation and ignores the nodes. To make sure your dummy geometry will be not visible at render time, you can deactivate its Primary Visibility or move it far for the camera frustum.
Hence, there's no need to save Shading Group / Shader along with the Geometry File (.fbx). The Geometry File is only used to compute geometry information (skinning, blendshapes, geometry caches...). Moreover most shaders (like custom renderer shaders) can not be saved in an Fbx file.
Thus the usual workflow is:
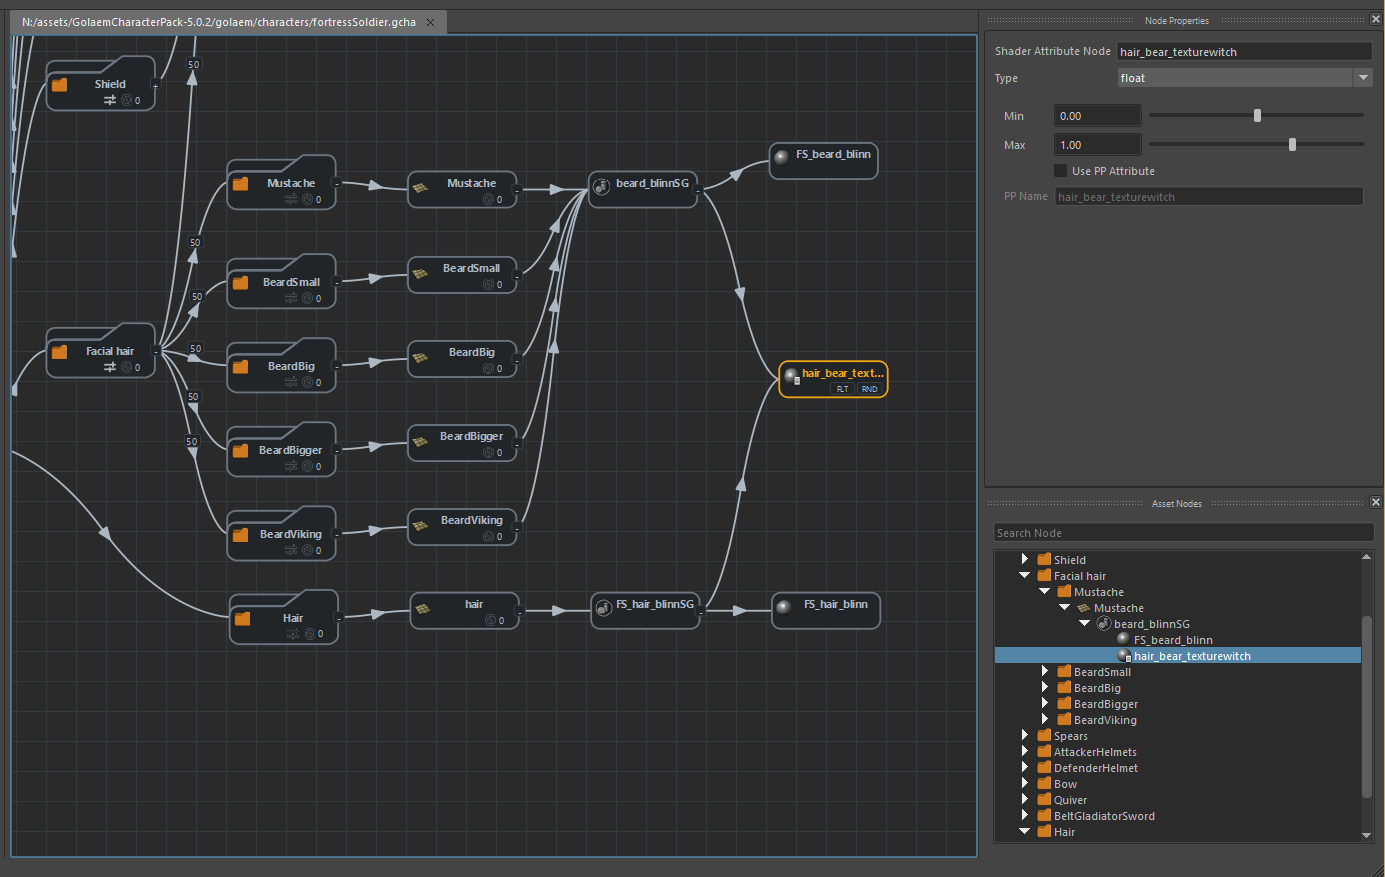
Maybe you would like to assign the same texture or hue to multiple shader and thus to multiple meshes (e.g. beards/hair...). To do so just link the Shader Attribute node (e.g Vray user scalar when rendering with Vray) to the desired shaders nodes.
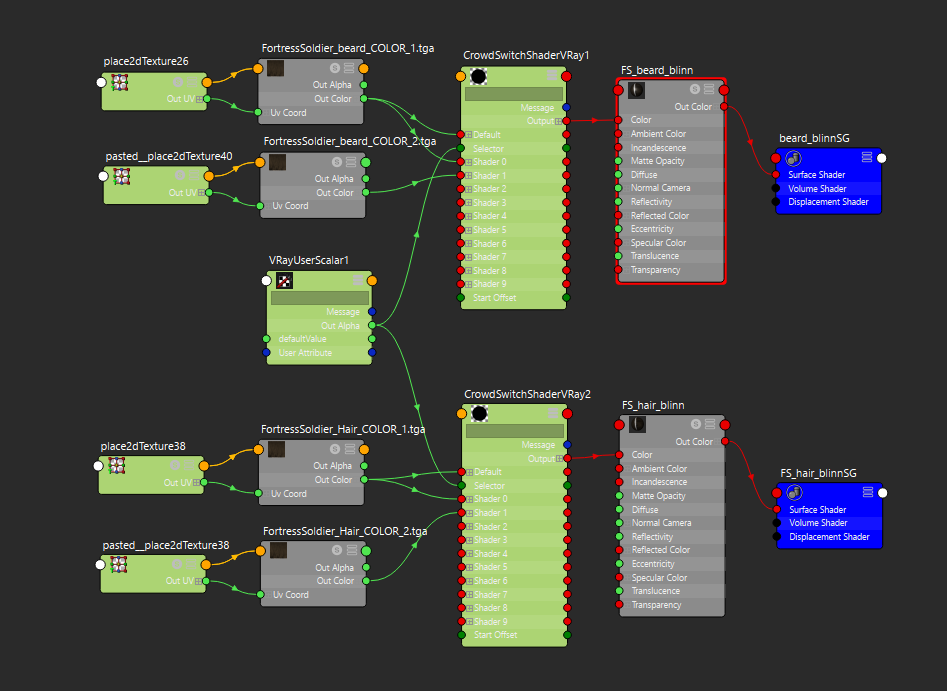
And remap the shader nodes accordingly in the Character Maker Geometry tab.
Don't forget to save you gcha and Character Shader scene.
As explained here, shading assignment in Golaem is simply done by attaching a Shading Group / Shader name to a Mesh name in the Character File (.gcha). Thus Golaem is agnostic about the type of shader used and the notion of supported by does not apply here. Thus, as soon as the shader used is compatible with the chosen rendering engine, it'll be supported by Golaem as well.
As explained here, shading assignment is simply done by attaching a Shading Group / Shader name to a Mesh name in the Character File (.gcha). If a shader is not assigned correctly at render time it means that:
Naming or non active shader problems can be easily prevented by using the Check Render Settings Tool (Crowd Render Menu / Check Render Settings):

In any of these situations, you should get verbose errors in either the Script Editor or the Output Window. Please check those first.