


Converting Daz characters
Here is the way to easily convert your DAZ characters to use them in Golaem Crowds.
EXPORTING FROM DAZ
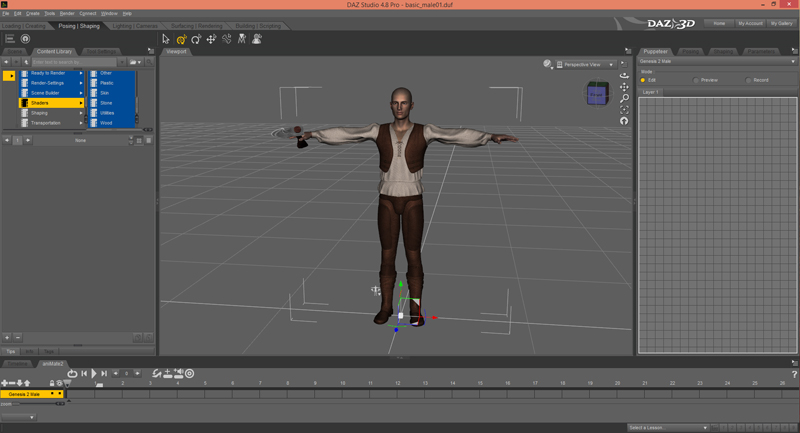
1. Create your character in DAZ studio pro.
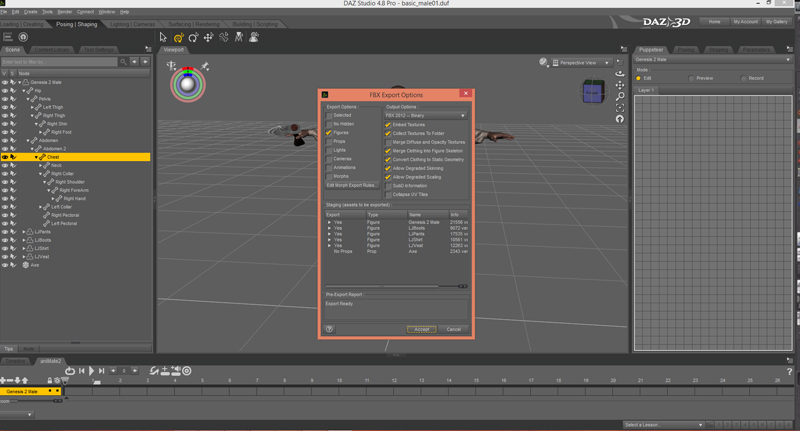
2. Export it as an Fbx with this options enabled: Embed Textures, Collect Textures to Folder, Merge Clothing into figure Seleton, Convert Clothing into static Geometry.
CONVERTING DAZ RIG INTO MAYA
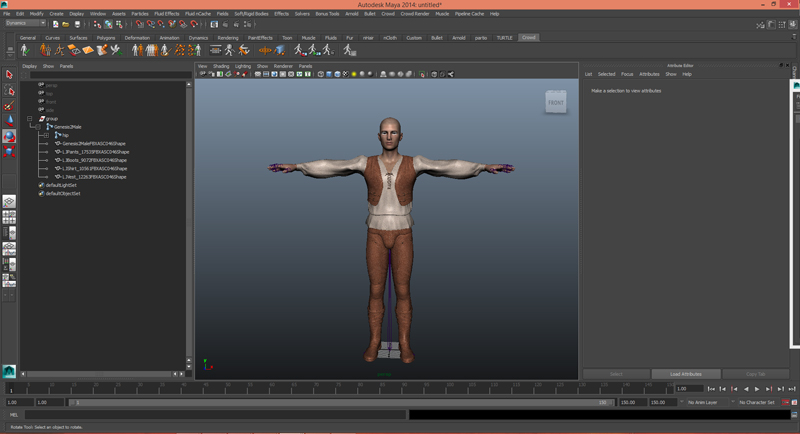
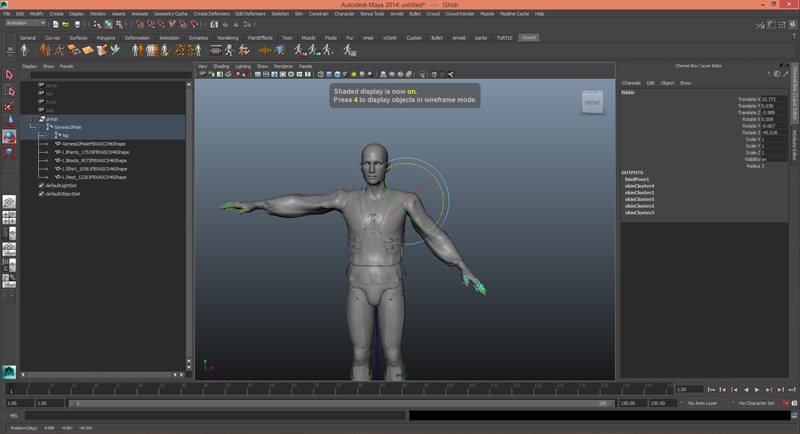
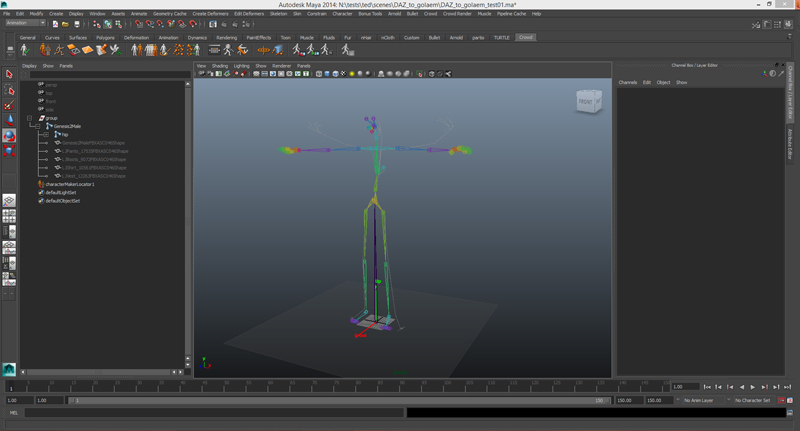
3. Open maya, set it to centimeter if it's not the case and import your fbx.
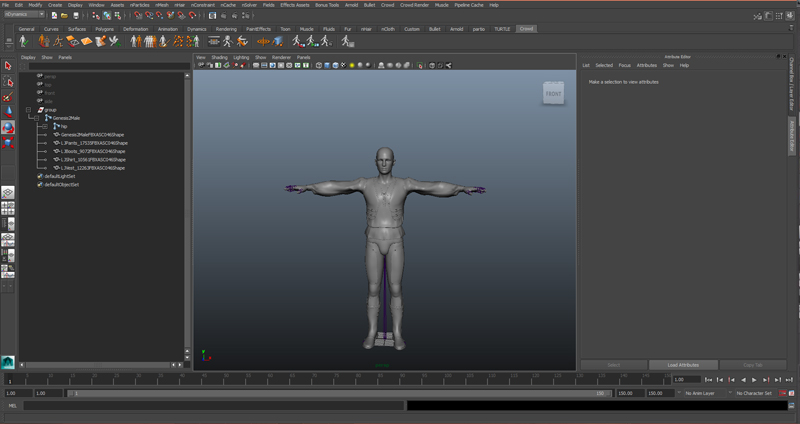
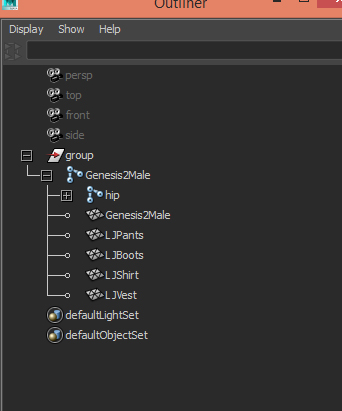
4. Rename your geometries with more nicer names.
6. Check your textures, with the options you've activated your character have already some textures applied.
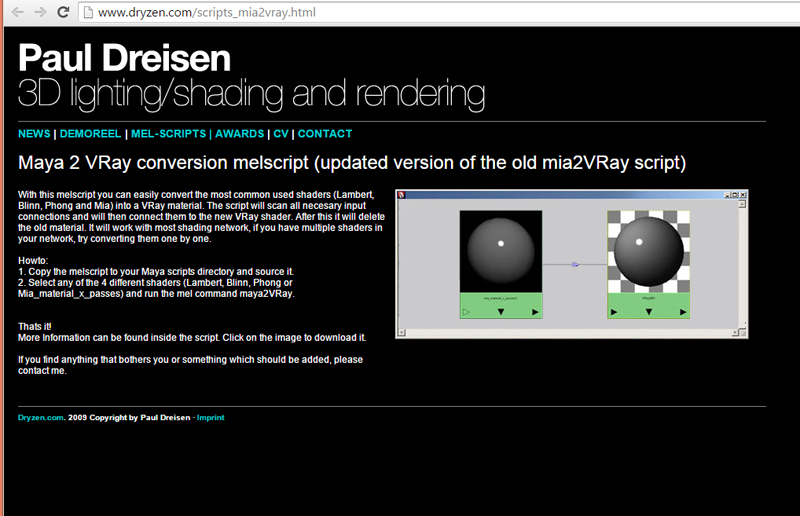
7. ...Yet the shaders have all been converted to Phong while exported in fbx. Convert it to your will for your favorite render engine. In this case we will use vray. An easy way to convert all your shader could be to run the magic script maya2VRay by Paul Dreisen.
8. Test your shaders.

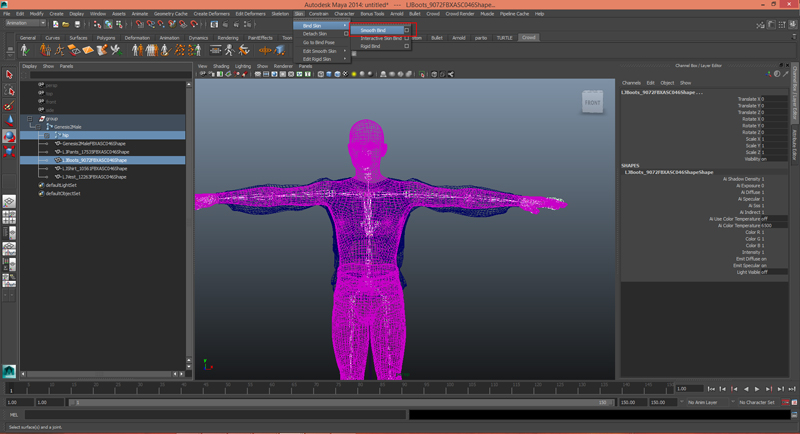
9. According to the options you've activated your character should be already skinned. But not clothes. Select your bones hierarchy and your clothes geometries and Smooth Bind.
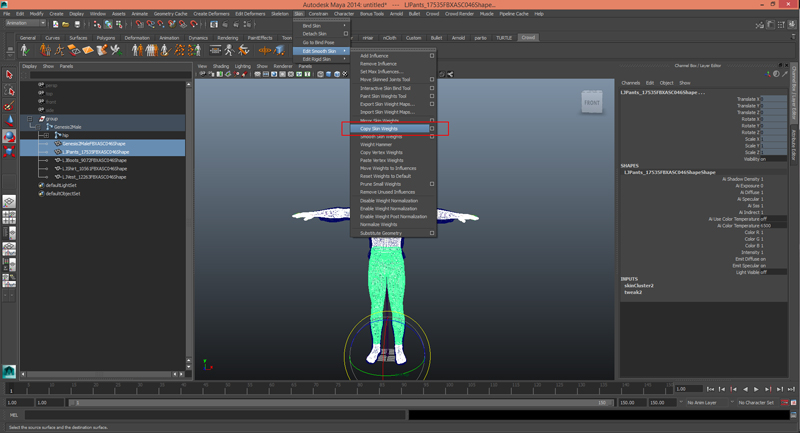
10. Now select the already skinned body then the clothes and click copy Skin Weights.
11. Test your skinning, it should be Alright.
11. As Golaem doesn't support Segment Scale Compensate on bones please disable it on each joints, you may use this script:
CREATING A GOLAEM CHARACTER
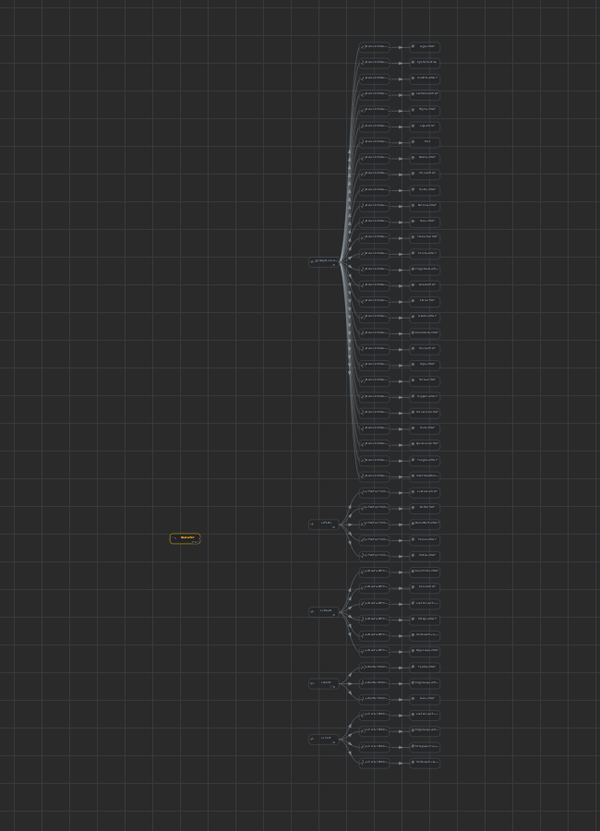
1. Now open the Golaem Character Maker  . select the root bone (Hip), click on Load Selected Skeleton and click Automatic Compute... It wont work correctly.
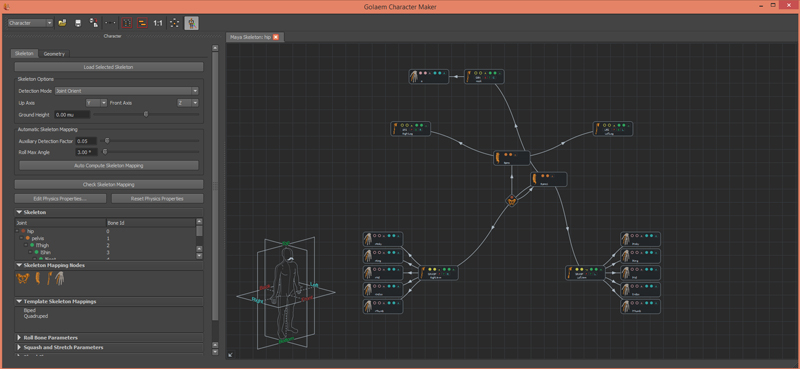
2. Close your Golaem character file without saving it. Select your root bone again, click on Load Selected Skeleton but this time drag and drop The template Biped.
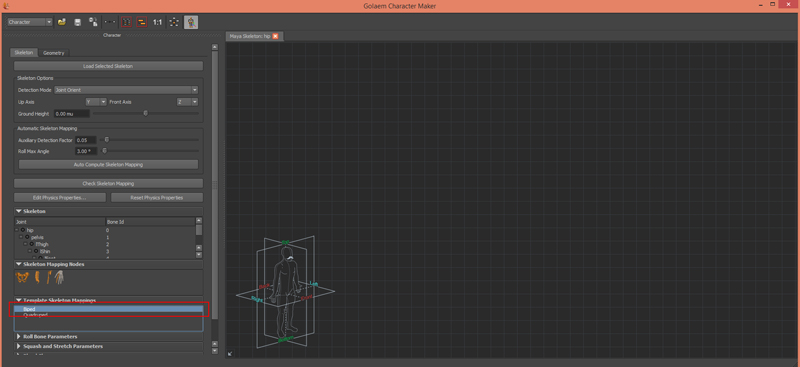
3. Hide you geometry and set the detection mode to Current Values.
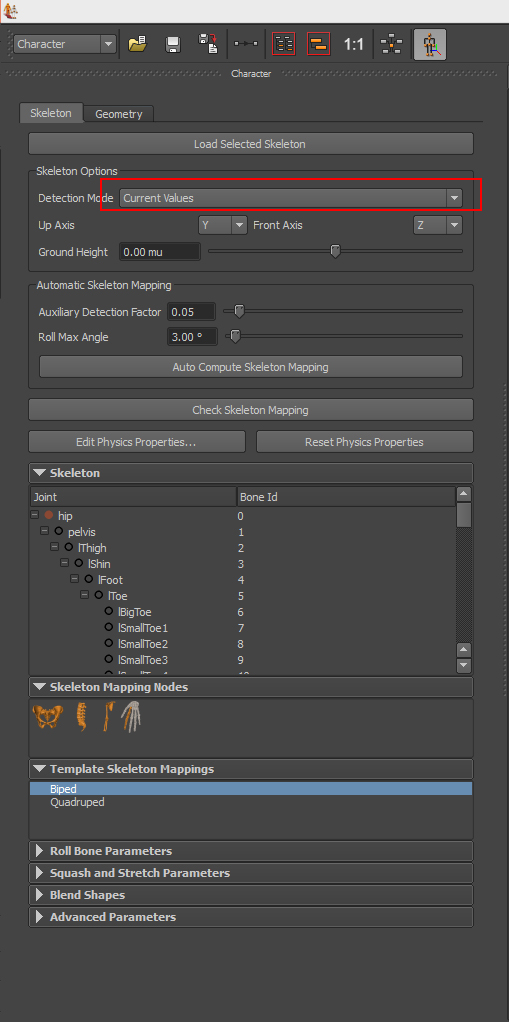
Your Character Maker Locator should almost fit.
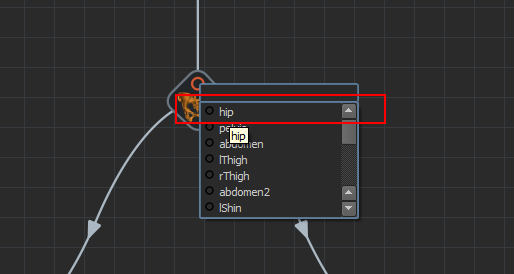
4. You will have to make all connections by hand.
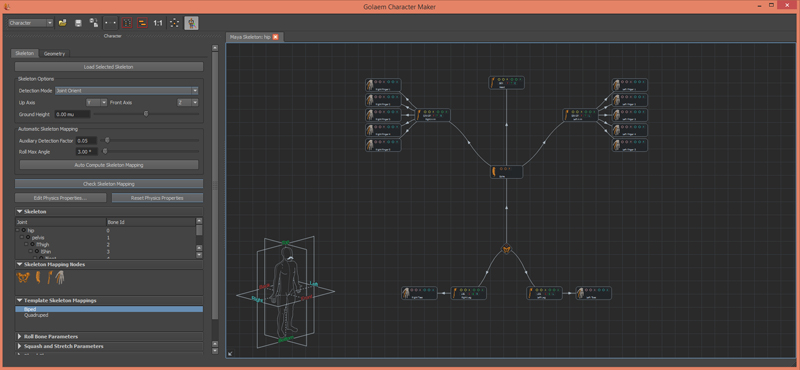
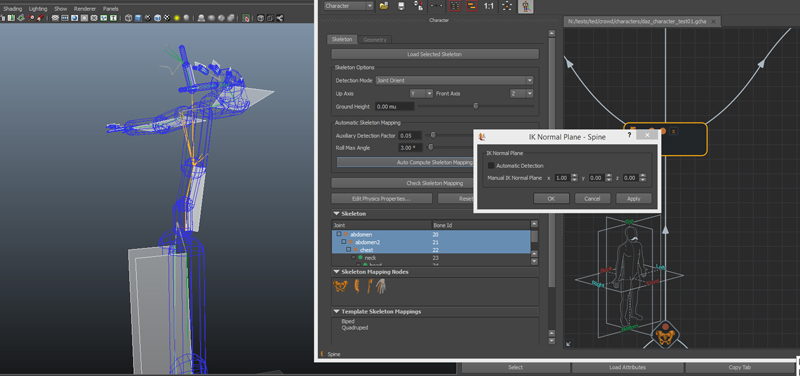
5. Once every bones are mapped click on Check Skeleton Mapping. If the Character Maker Locator doesn't bend in a good way check your IK planes normals.
Setting the Geometry
1. Open the Character Maker's Geometry Tab and select your character's geometry in the outliner.
2. Click on the Import Geometry button  , this will load the geometry and shading nodes of your character.
3. Drag and drop an Asset Group node before the Mesh Asset nodes and link them. Link the Character node to the Asset Group.
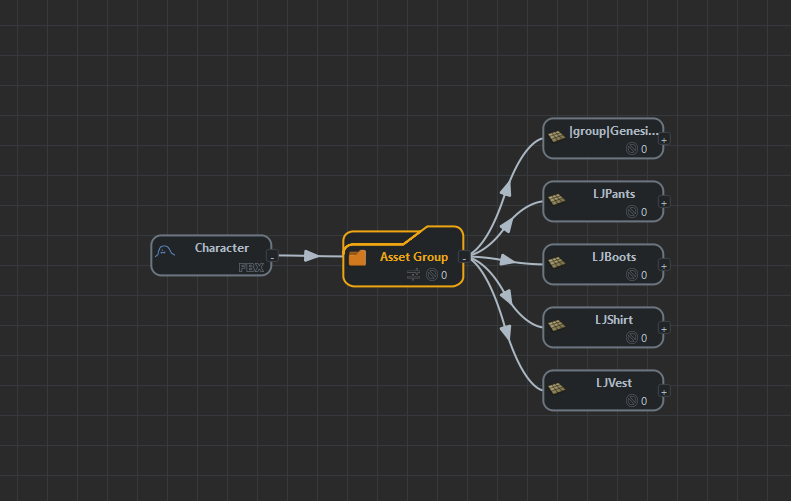
4. Go into the Rendering Types section and click "+" to create a rendering type. name it after your character (e.g. villager)

5. Select the Character Node and go into its Asset Properties. (if the tab is hidden right click the Toolbar and tick the box).
6. Click the Export Geometry File Button  and edit the bounding box of your character.
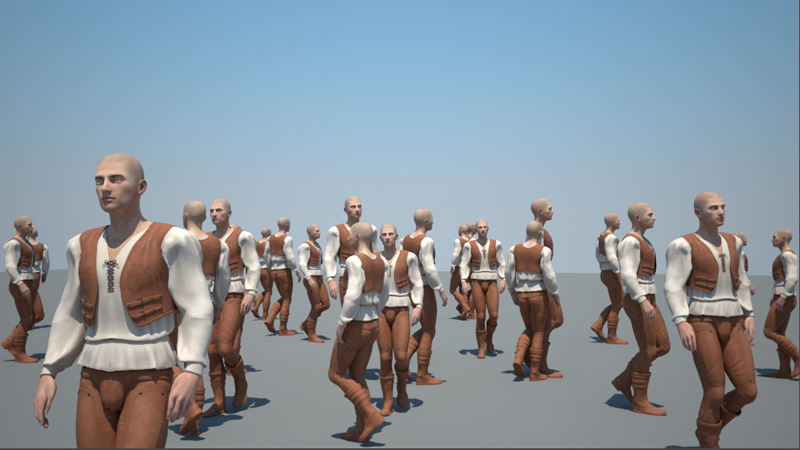
7. Your Golaem character is now ready, save your .gcha!
8. On another side select your shaded character and save it as a .ma this file must contain every shaders to be used at render time.
 , then save back your Character and render again, it should be fixed.