Population Tool Context
CREATION
- Golaem Shelf:

- Golaem Menu: Population Tool
- MEL command: glmPopulationToolCmd;
Tool SETTINGS
Populate in Custom Shape
This panel defines the shape of the new Population Tool Locator.

Populate in Custom Shape layout
 |
The center point shape creates particles in a grid centered on a point clicked inside the viewport. This shape allows modifying rows and columns, you can use it for designing squads in a battle scene for example |
 |
The quad shape creates particles in a quad by clicking and dragging inside the viewport |
 |
The polygon shape creates particles in a polygon, drawn by clicking inside the viewport. This shape needs three points at least. You can remove the last point by pressing the backspace key or combining mouse left click and Ctrl key. The relative Population Tool Locator will be created by pressing the enter key or mouse middle click |
 |
The circle shape creates particles in a circle by clicking a center point and dragging the radius inside the viewport |
 |
The triangle shape creates particles in an isosceles triangle by clicking and dragging inside the viewport |
 |
The sphere shape creates particles in a sphere by clicking a center point and dragging the radius inside the viewport. You can use this shape for placing flocking birds, for example |
 |
Free Place mode: add slots on a terrain or edit them by clicking and dragging in the viewport. See Free Place Options below. |
Populate in Selection

 |
This tool creates a center point shape placed on each selected objects or components (edges, vertices, faces, particles in component mode...). In this mode, the Population Tool slots will orient in the same direction than the objects or component. If populated on particles on component mode, it will read the orientation from a vector PPAttribute named glmSrcDirection which represents the forward direction of the slot (1,0,0 for X facing). You can use this solution for placing characters on every seat of a stadium, for example. 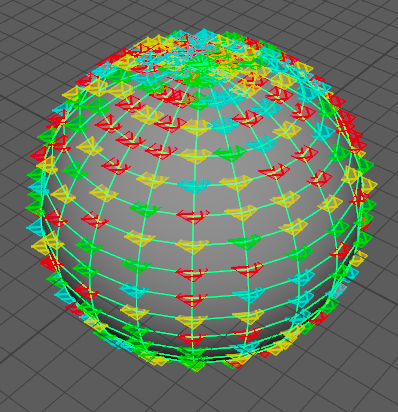 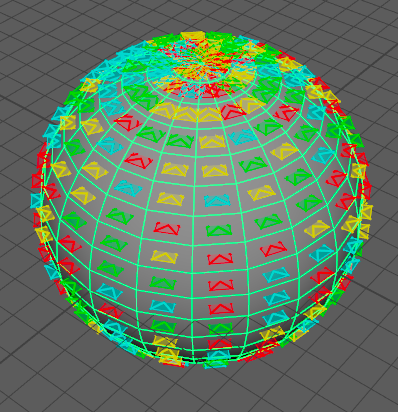 Populate selection in vertex mode (left) and face mode (right) |
 |
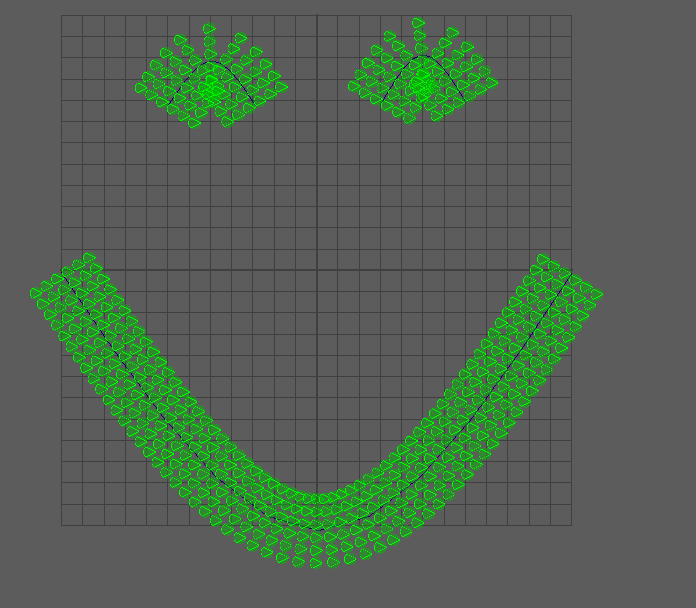
This tool creates a polygon shape according to the selected non-volumetric mesh borders. The new Population Tool Locator is automatically connected to the relative mesh, and matches the mesh geometry even after modifying it. This mode only works with surface polygon meshes without holes. 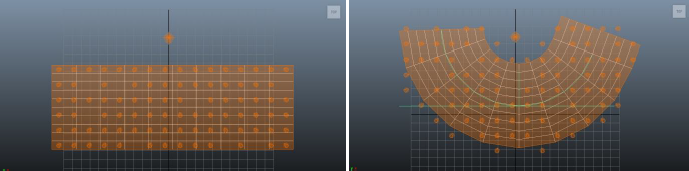 Polygon shape matches the bent mesh geometry |
 |
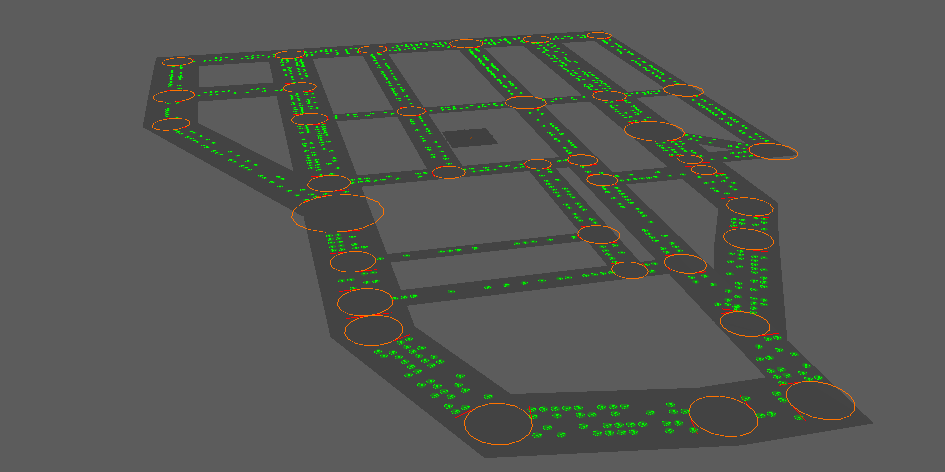
This tool creates slots around the selected curves, the row count can be configured as well as slot distance and noise. If the curve is part of a Traffic Locator, the information from the traffic will be used : right / left lane count and separation. The population tool will also avoid to populate on crossings.It makes it easy to populate scenes once the traffic is setup.
Polygon shape matching a standard curve, and population of a traffic scene via populate on curve tool |
 |
This tool scatters slots around a random position on the mesh. The base position can be picked randomly every x samples (see Scatter Attributes). The slots are spanned randomly via a poisson disc law, applied in 3D. Works best with Orient On Ground Normal enabled. 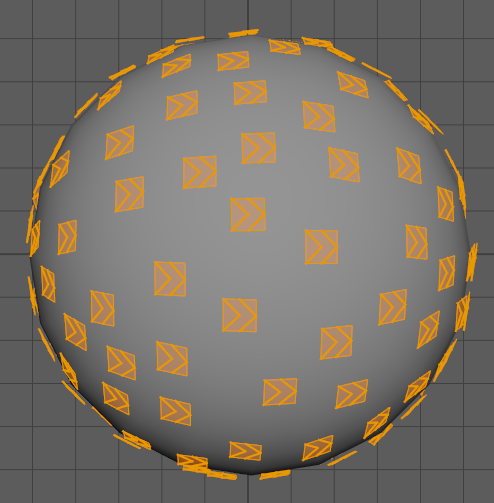 Slots scattered on a sphere, with "orient normal on ground" option ON 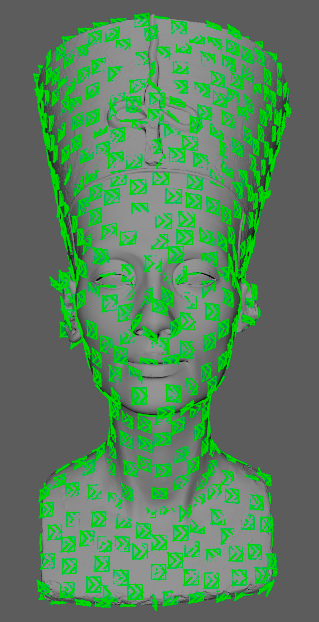 Scatter population works on any geometry, here a Nefertiti head model |
 |
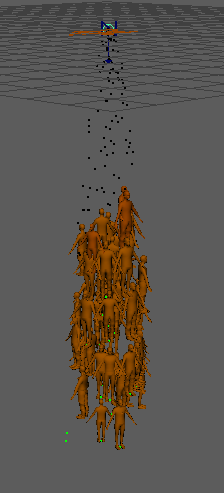
This tool uses particles / nParticles emitted from Maya emitters and adds Golaem population to them.
|
Entity Types

Entity Types layout without and with Entity Types
Terrain Locator
| Select Terrain Locator | Select the Terrain Locator on which to place the new Population Tool Locator and its slots. |
Free Place Options and Hotkeys
The Free Place mode enables placing slots by clicking and dragging the left mouse button in the viewport. The Entity Type and Rendering Type of the new slot are determined by the Next Entity Type and Next Rendering Type parameters (see table below). To finish the Population Tool Locator, press Enter.
Adding slots in Free Place Mode
To remove the last created slot, press Backspace or Delete. If there are no more slots to erase, this will erase the Population Tool Locator.
Removing slots in Free Place Mode
A circular brush can be used for additional functions. To change the radius of the brush, click and drag with the middle mouse button, or use the Brush Radius slider.
Changing the Brush Radius in Free Place Mode
To use the different brush functions, press and hold the Shift key before clicking and dragging. Control + Shift + clicking and dragging will remove the effects of the brush in some cases.
| Brush Radius | The radius of the brush. It can also be changed by clicking and dragging with the middle mouse button. |
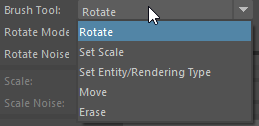
| Brush Tool |
The brush function to use:
|
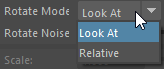
| Rotate Mode |
The rotate mode to use. Only available when Brush Tool is set to Rotate.
|
| Rotate Noise | The noise to apply to the slot orientations in Rotate mode. |
| Scale | The scale of the slot. |
| Scale Noise | The noise to apply to the slot scales in Scale mode. |
| Next Entity Type | The Entity Type of the next slot to place, or the Entity Type to set with the brush in Set Entity/Rendering Type mode. Only the Entity Types mapped to the current Population Tool Locator are available. When set to Automatic, the Entity Type is determined according to the weights on the Population Tool Locator. |
| Next Rendering Type | The Rendering Type of the next slot to place, or the Rendering Type to set with the brush in Set Entity/Rendering Type mode. Only the Rendering Types of the Next Entity Type are available. When set to Automatic, the Rendering Type is determined according to the weights on the selected Entity Type. |