


Paint Tool Context
As of August 5th, 2025, Golaem will no longer provide direct support.
All support for Autodesk Golaem will now be handled exclusively through Autodesk support channels and this website will be deactivated.
Please bookmark the Autodesk Golaem Support section for any future support needs related to Autodesk Golaem packages.
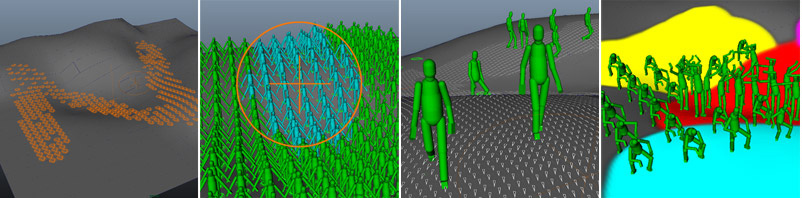
Example of paintable Crowd objects: Population Tool slots, PPAttributes, Navigation Vector Fields, Behavior Triggers
CREATION
- Golaem Shelf:

- Golaem Menu: Paint Tool
- MEL command: glmPaintToolCmd;
Mesh and UV prerequisites
The Paint Tool uses UV coordinates from the attached meshes. Thus, for best results, the UV must be uniquely and homogeneously distributed over the geometry. This can be achieved with an UV unwrap in Maya. The typical result of badly distributed UV is paint appearing where you didn't paint. Bad UV can also lead to non appearing slots when painting density with the Population Tool.
Tool Settings
Paint Mode
This panel defines what type of data will be painted:

 |
Allows to paint slots in a Population Tool locator. The slot density is linked to the brush color (white for maximum density, black for none) |
 |
Allow to paint Entity Types on a Population Tool locator. |
 |
Allows to paint PPAttributes values in a Maya particle system |
 |
Allows to paint directions in a Vector Field locator to control the navigation of Entities |
 |
Allows to paint colors in a Painted Zone locator to trigger behaviors |
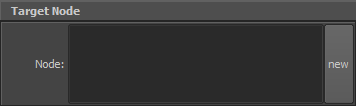
Target Node
| Node |
Defines the node in which the data will be painted:
|
| New button |
Creates a paintable node (either a Population Tool Locator, a Vector Field Locator or a Painted Zone locator depending on the Paint Mode). This button is not available for the PPAttributes mode (but you can use the Population Tool to emit particles) To be able to create a new node, a Maya polygon must be selected first. The Maya polygon will be used to compute the underlying painted texture.
|
Brush
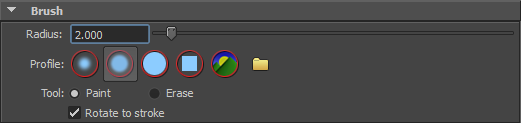
| Profile |
Determines the shape of the area affected by the selection (see Maya Artisan documentation) |
| Tool |
Defines if it is a paint or an erase session. |
| Radius |
Defines the radius for the brush. The radius valus can also be controlled with an hotkey (press b and drag the left mouse button) |
| Rotate to stroke |
Rotate the brush according to the brush movement
A brush stroke without and with Rotate to stroke enabled |
Notice that the Brush cursor display the current mode.
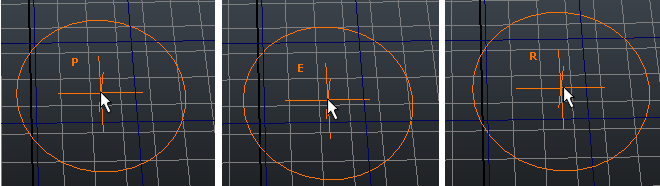
Paint, Erase and Resize Brush cursor
Paint Attributes
Population Tool Mode

| Color |
Determines the density of the slots (the whiter the color, the more dense the slots). The density is stored in the red channel of the painted texture. |
| Opacity |
Not used yet |
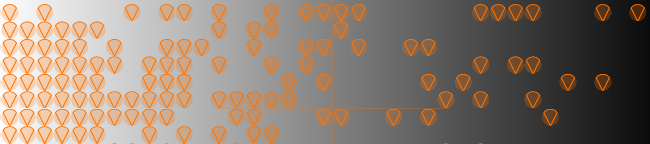
Density of the slots depending on the painted color
Entity Types Mode

| EntityType |
Name of the Entity Type to paint on the Population Tool locator. If the Entity Type is not connected to the Population Tool locator, the paint tool will connect it automatically. Without texture, the painted EntityType is stored in the Population Tool, thus Entity Type is related to the Slot Id and not the Slot position. When using a texture, the Entity Type is stored in the green channel of the painted texture, so the Entity Type is related to the position of the slot. |
PPAttributes Mode
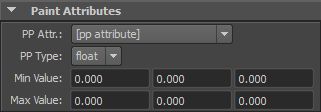
| PP Attribute | Name of the PPAttribute in the currently selected particle system to paint |
| PP Type | Painted component type (float or int) |
| Min Value | Min value to paint (either a single or a vector value) |
| PP Value | Max value to paint (either a single or a vector value) |
Vector Field Mode

| Opacity |
Strength of the brush |
Trigger Mode

| Color |
Color to paint |
| Opacity |
Strength of the brush |
Trigger Mode
None
Display

| Draw Brush Outline |
If checked the brush outline will be displayed |
Advanced
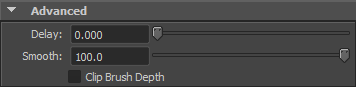
| Delay |
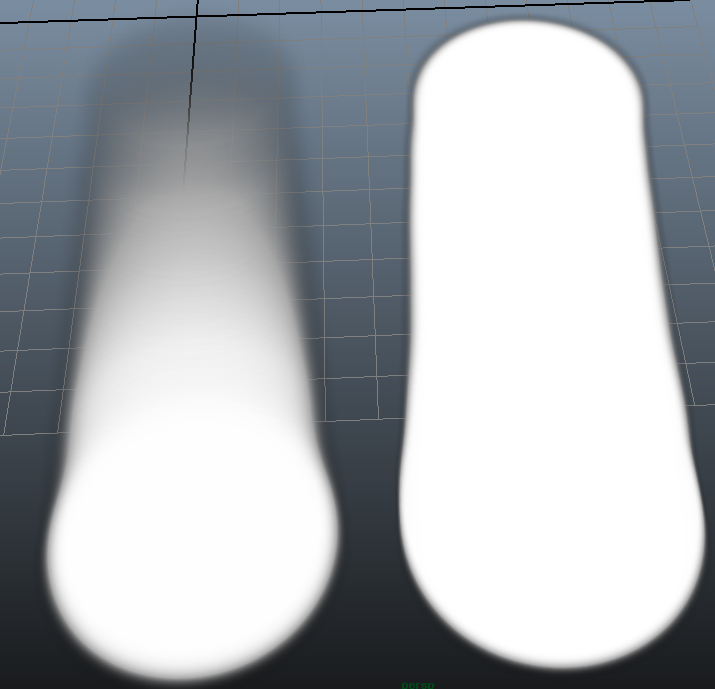
Amount of time in second before the brush reaches full opacity.
A delay of 1 second on the left compared to a delay of 0 second on the right
|
| Smooth | The number of brush position samples averaged to compute the brush rotation. The higher the number is the more smooth will the brush rotation be. |
| Clip Brush Depth | If enabled the paint p rojection starts from the brush position. If disabled, the paint projection starts behind the brush. it's better disabled on terrain with high slopes. For painting in building with stories, keep it enabled. |
Load / Save Map

| Load 32bits PNG |
Displays a file open dialog to load a 32bits PNG. The image is stretched without keeping the aspect ratio. It's scaled to fulfill the painted map. |
| Save 32bits PNG | Displays a save dialog to save a 32bits PNG from the painted map. |
Render Splines

| Render splines for every surfaces |
Force the splines rendering computation for every painted surface linked with splines. |