


Dealing With LOD Characters
As of August 5th, 2025, Golaem will no longer provide direct support.
All support for Autodesk Golaem will now be handled exclusively through Autodesk support channels and this website will be deactivated soon.
Please bookmark the Autodesk Golaem Support section for any future support needs related to Autodesk Golaem packages.
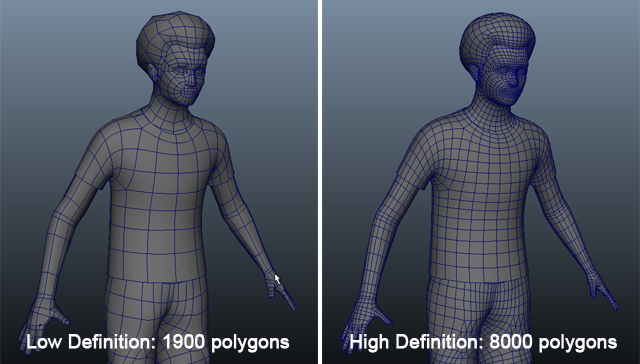
This tutorial details how to use LOD based on camera distance within Golaem. In the following we're gonna assume that it exists two LOD versions of the same Character which share the same skeleton / mesh names / shaders...
Maya Mesh LOD preset (optional)
As a first step, you may tag your maya meshes to be used in some specific LOD levels. By default, when importing the geometry in the character maker tool, Golaem assume that every mesh is used by every LOD level, but you can add a string extra attribute called "glmLodLevels" to your meshes, which will contain the LOD level to which this mesh belong, such as "lod0" or "lod1".
Character File Setup
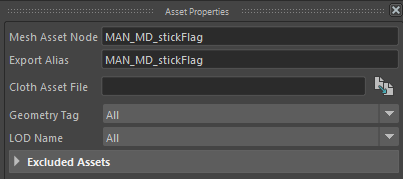
After importing the geometry to the character, you can still tag any mesh asset node to be part of a specific LOD Level in the mesh asset node / asset properties view.
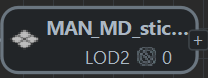
A mesh tagged for a specific LOD level will display it in the Geometry Graph :
Then you can use the Character Maker's Geometry Tab "Export Geometry" button to export only specific LOD Levels to each file, by picking the specific LOD Level in the advanced Geometry Export options before export.
You will finally end up with different Geometry Assets listed in the Character Maker's Geometry Tab, and you will only have to tweak the LOD (camera) distances in each of these files (the LOD Level should have been prefilled when exporting the specific LOD Level to Geometry File). Set those accordingly to your simulation: you'll be able to see the corresponding geometry both at simulation and render time. Notice that it is not required to reexport a Simulation Cache if you change those attribute values.

See Asset properties LOD Min/Max Distance section for more details.
Rendering
Here's how the render looks like with Arnold in Maya after exporting the simulation and adding a Crowd Render Proxy to the scene:
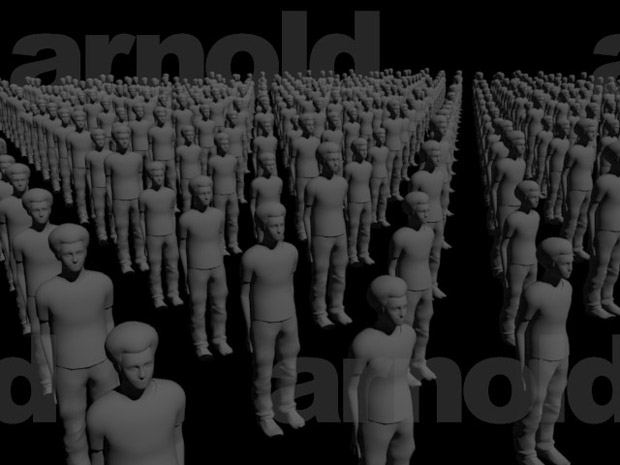
And to give you an idea of which geometry has been used where (red are low def characters and green are high def)
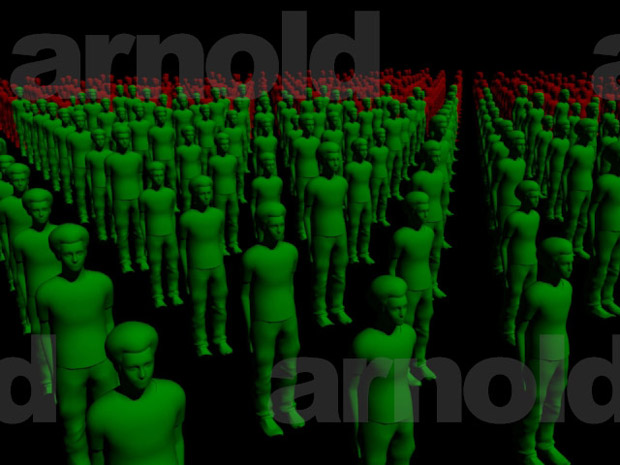
Thanks to LOD, the scene polygon count felt from 3millions to 1.6millions and render times reduced by more than 30% for this simple image!