


Converting Advanced Skeleton rigs
As of August 5th, 2025, Golaem will no longer provide direct support.
All support for Autodesk Golaem will now be handled exclusively through Autodesk support channels and this website will be deactivated soon.
Please bookmark the Autodesk Golaem Support section for any future support needs related to Autodesk Golaem packages.
Character rigged using Advanced Skeleton can be easily converted to Golaem Characters.
Here is a quick step by step.
MAPPING THE BONES
1.Open the Golaem Character Maker  . Select the root bone *Base_M (not the fit skeleton one!),
. Select the root bone *Base_M (not the fit skeleton one!),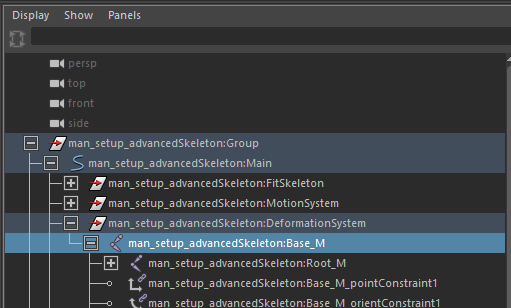
It appears that Advanced Skeleton is better converted with Detection mode set to Current values.
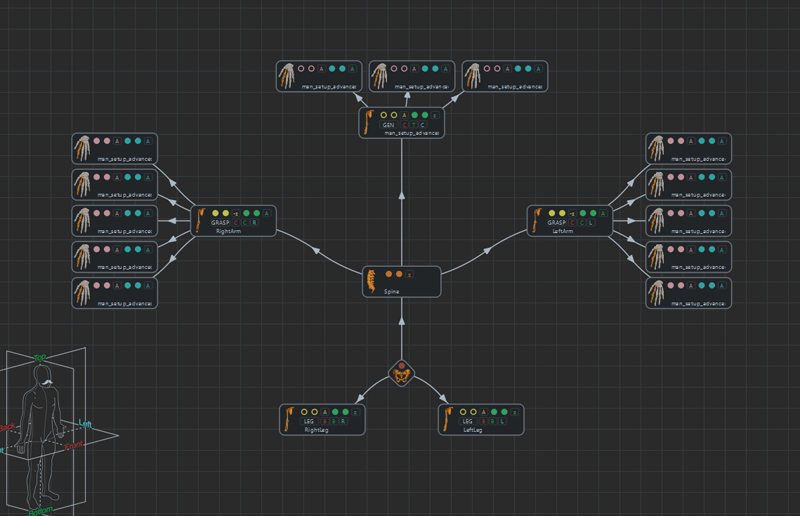
Click on Load Selected Skeleton and click Automatic Compute...
Here is what you get:
2. Drag and drop some Effector nodes and connect them to the Leg ones to map the missing bones of the feet.
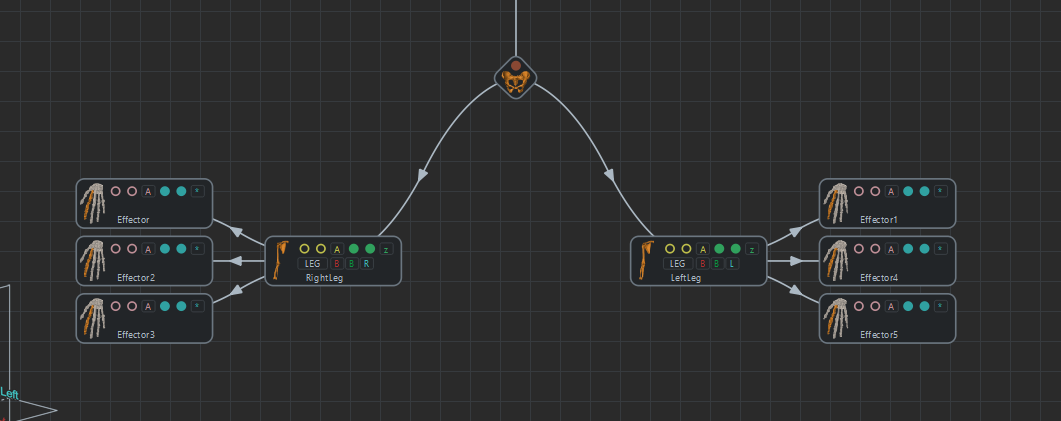
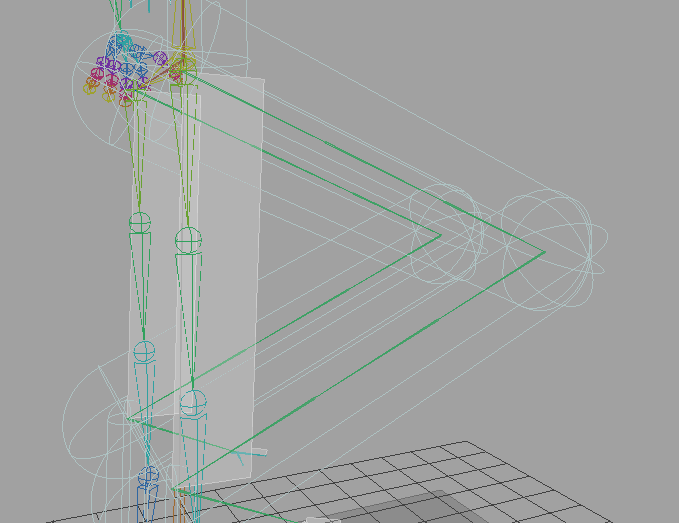
3. Now when when clicking Check Skeleton Mapping button you see that there are undesired bones in the IK of the right leg.
You can map the unwanted bones in the Roll Bone Parameters box
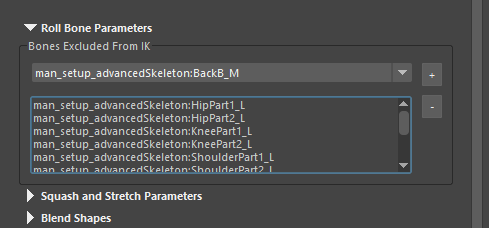
Your character's leg is now correct.
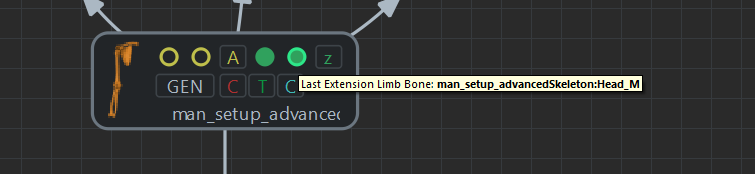
4. The Neck bone is mapped instead of the Head, just replace it.
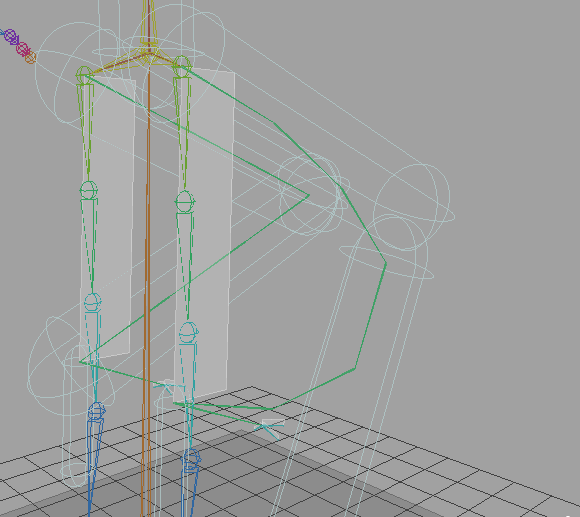
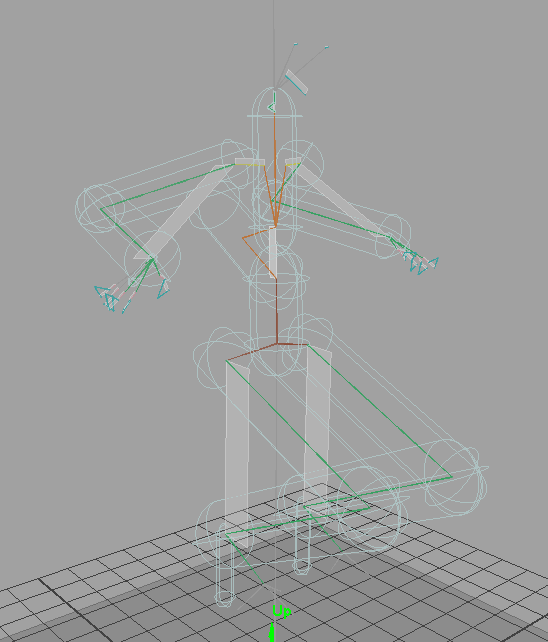
5. Once every bones are mapped click on Check Skeleton Mapping. If the Character Maker Locator doesn't bend in a good way check your IK planes normals.
MAPPING THE GEOMETRY
6. Go into the Geometry mode of the Golaem Character Maker and add the geometry by selecting each surfaces and clicking + on the right corner of the menu. (please refer to the documentation).
7. Define the Rendering Types.
8. Before exporting your Character geometry make sure to deactivate every scale compensate on your joints. Golaem doesn't support this feature.
You can deactivate those with a little script:
$joints = `ls -type "joint"` ;for( $joint in $joints ){setAttr -e ($joint + ".segmentScaleCompensate") 0 ;}
9. Select Your Character's bones and geometry and click on Export selection as Fbx  .
.
.
10. Set the bounding box and save your Gcha.
You may open a second maya and import your fbx to check how it looks.
11. On another side select your shaded character and save it as a .ma this file must contain every shaders to be used at render time.
12. Your Golaem character is now ready, save your .gcha!
To understand how to move and render your crowds please read the Quick Start Tutorial.