Displacement
As of August 5th, 2025, Golaem will no longer provide direct support.
All support for Autodesk Golaem will now be handled exclusively through Autodesk support channels and this website will be deactivated soon.
Please bookmark the Autodesk Golaem Support section for any future support needs related to Autodesk Golaem packages.
The Crowd Render Proxy allows to add Displacement on Entities geometry to add details at render time. At render time, displacement will be assigned the same way than surface shaders: the render plugin will look for a VRay Displacement Nodes with the same name than the one set in the Character File and assign it to the created geometry. Some parameters can be override from the Character File (see below)
For the displacement to work, a V-Ray displaced mesh with the same name must exist in the scene and be active (i.e. not hidden)

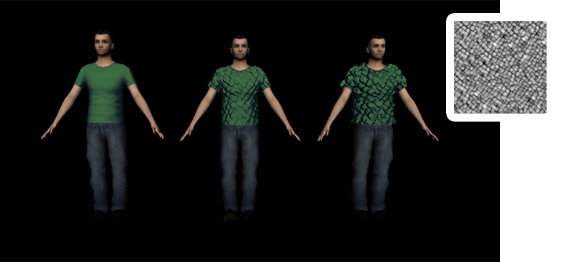
Examples of Displacement Mapping with different displacement amounts
Creation
- open the Character File in the Character Maker and go to the Geometry Tab
- select the Mesh you want to displace in the Main Workspace
- drag and drop a Shader Node from the Asset Nodes tab
- enter a name for the Shader
- enter "displacement" as the category of the Shader


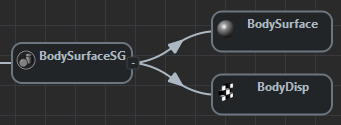
Example of a Displacement Shader applied to a Shading Group Node
Configuration
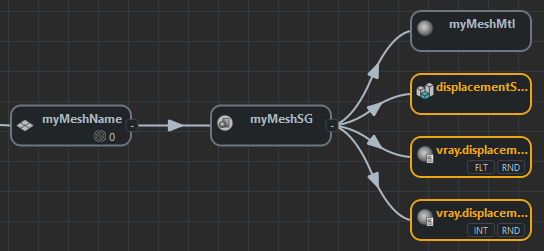
It is possible to configure a Displacement Shader by linking to the Shading Group Node some specific Renderer Attributes. Here is an example of V-Ray Attributes which can be set via the Renderer Attributes (those parameters are the same attributes defined by V-Ray for each mesh in Maya):
| Attribute Name | Description |
| vray.displacement_amount.float | Determines the maximum displacement amount which occurs at places where the displacement map is white. (notice that this value can also be controlled with a ppAttribute). |
| vray.displacement_shift.float | Adjusts the whole displacement map up and down. The effect will be to expand (for positive shift values) or shrink (for negative shift values) the displaced surface (notice that this value can also be controlled with a ppAttribute). |

Example of Renderer Attributes applied to a Displacement Shader
Notice that Displacement quality can be controlled from the Render Proxy.


