


Entity Display
This page covers how Entities are displayed in Simulation in an Entity Type Node and in Cache Replay in a Simulation Cache Proxy Node:
Display Attributes
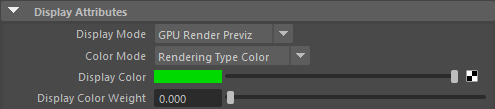
| Display Mode |
Mode used for preview rendering (see below) |
| Color Mode |
|
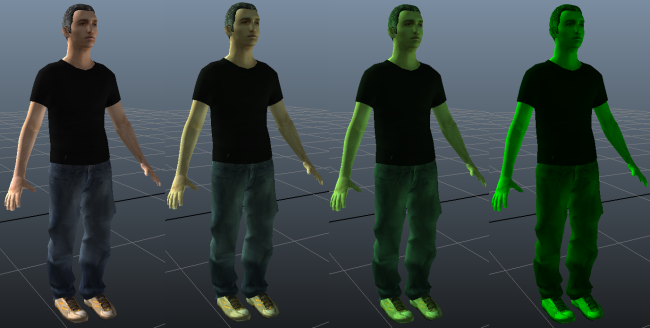
| Display Color | Diffuse color for the Entities belonging to this Entity Type. When particles will be emitted from a Population Tool Locator, the rgbPP PPAttribute of the particles will be set to this color (for more explanation about how to use PPAttributes, see PPAttributes Handling). By default, the color of the Entities will be the one stored in the rgbPP PPAttribute. It is also possible to use the color defined in this attribute by unchecking the "Use Rgb PP" checkbox in the Crowd Manager Display Attributes. |
| Display Color Weight |
Weight of the Entity Color in the final shading.
|
| Draw Selected Entities BBox |
Show the bounding box of the selected entities |
Bounding Box Display Attributes
The following attributes are available only in "Bounding Box" mode:

| Display Offset | Offset applied to the displayed bounding box, based on the skeleton root position. |
Skeleton Shapes / Physics Shapes Display Attributes
The following attributes are available only in "Skeleton Shapes" or "Physics Shapes" modes:

| LODPixels Size | A LOD system is available and allows shapes smaller than a size in pixels to not be rendered. LODPixels size value of 8 (default) sets the preview renderer to discard shapes having an on-screen size lower than 8 pixels |
Render Previz Display Attributes
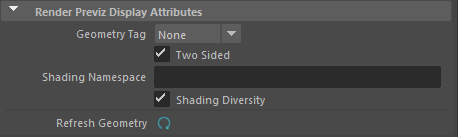
| Geometry Tag |
Type of Character Geometry Files to use during Simulation or Cache Replay |
| Two Sided | Doesn't perform triangle culling based on its winding. All triangles are visible from both sides. |
| Shading Namespace |
Name of the Maya Namespace to add to the shading assignment defined in the Geometry part of the Character file. This attribute only works if the Shading Mode is set to From Maya Scene. There must be the same number of namespaces than Character Files. |
| Shading Diversity |
Enable viewport shading diversity. This includes texture diversity using Switch shaders and color variation using HSL shaders.
|
Refresh Geometry  |
Flush the geometry cache and reload it (fbx and gcg files). This also reloads textures. |
Display Modes
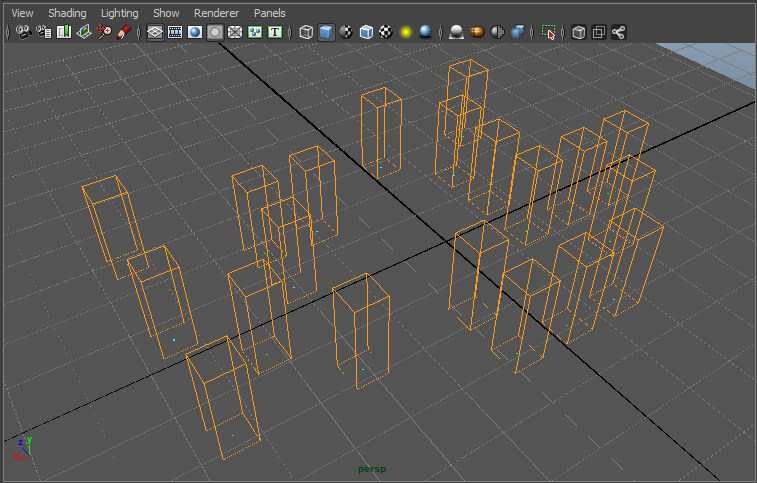
Bounding Box
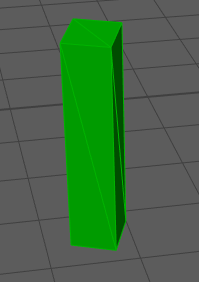
This is the simplest preview mode. It displays the bounding box of the Perception Shape, which is defined in the Character Maker and can be overridden with any geometry in the Entity Type node Perception Attributes. The shape is scaled by the Entity scale.
The bounding box position can be offset from its original position by setting the 'Display Offset'. The simulation has to be started again to take changes of this parameter into account.
Skeleton Shapes and Physics Shapes
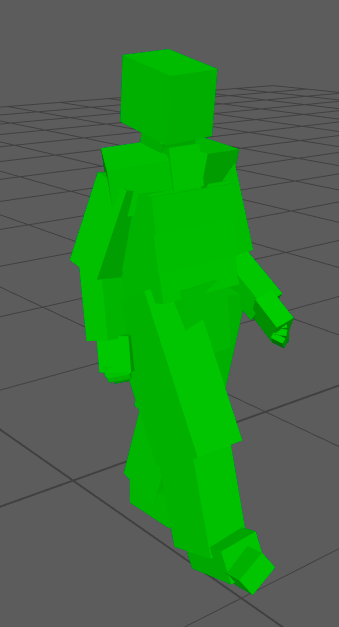
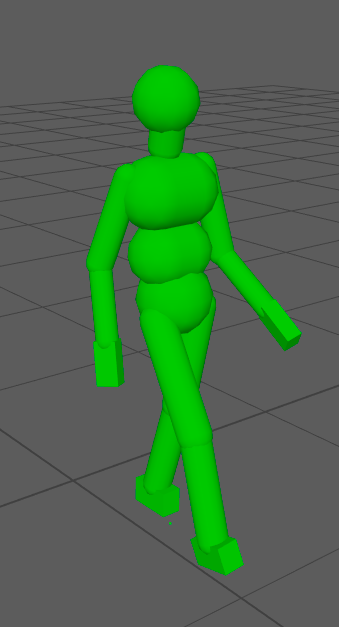
The same entity viewed in "Skeleton Shapes" and "Physics Shapes" modes
-
The Skeleton Shapes mode displays a shape for each bone composing the skeleton. The shapes can be edited in the Character Maker.
-
The Physics Shapes mode displays the physics volumes of the skeleton. Those properties can be edited in the Character Maker.
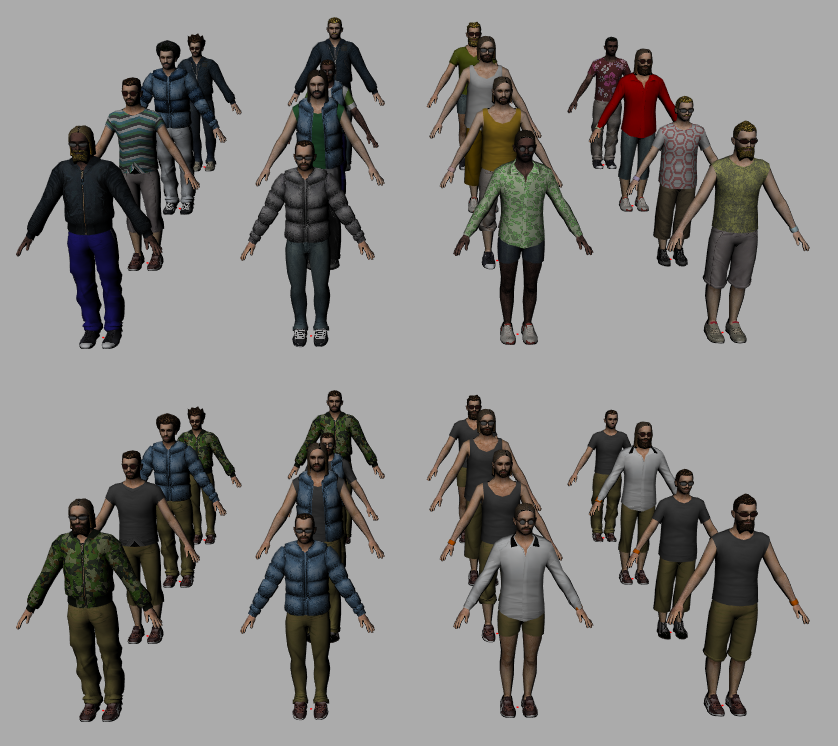
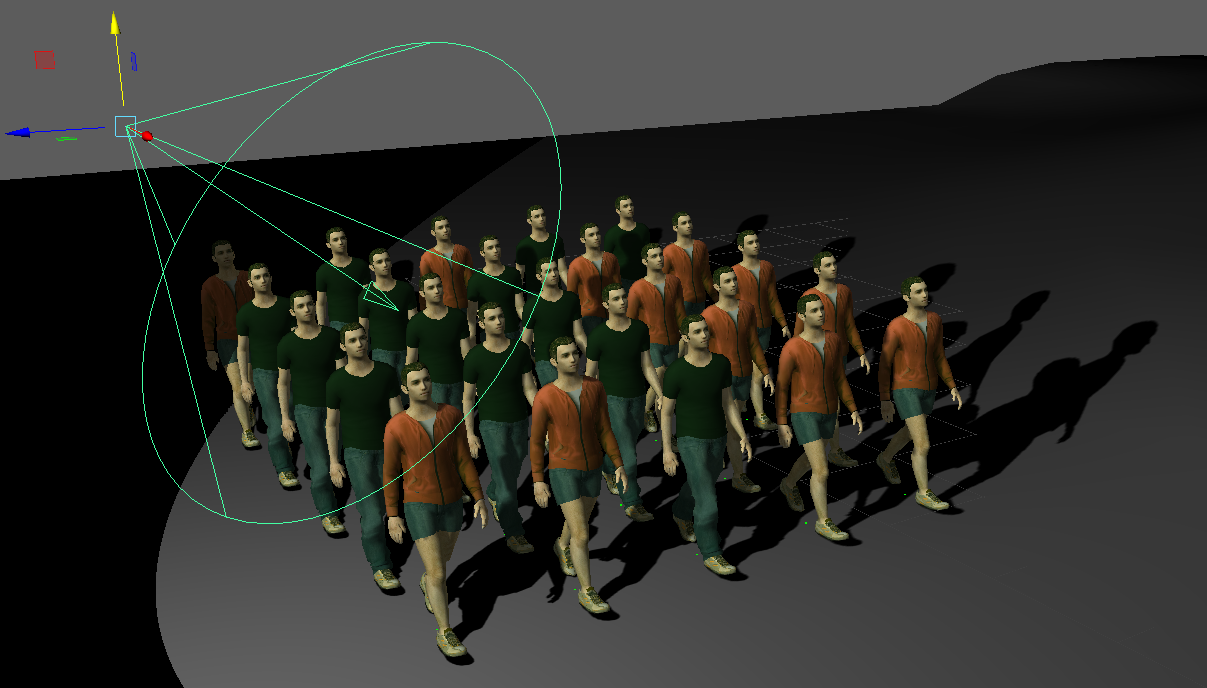
GPU Render Previz
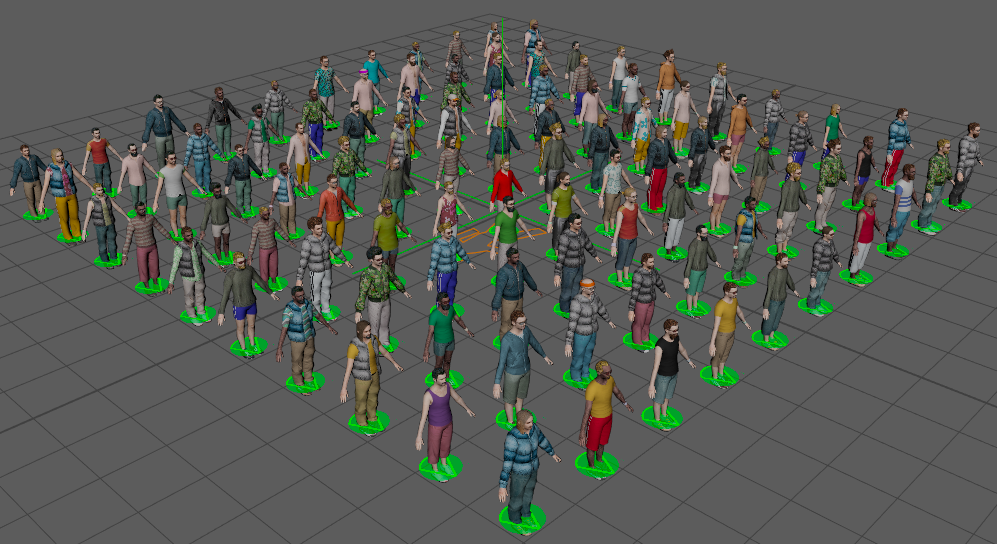
Render Previz shows geometry with asset repartition
Render Previz is available if you assign a Rendering Type to the current Entity Type. Once you set up the Character with the assets repartition and a corresponding geometry file (fbx or gcg), the Entities will be properly rendered. You will see the same mesh asset repartition as in your Simulation Render.
Notice that this display mode does support:
- Classic Linear skinning (other skinning methods will fallback to linear skinning)
- up to 682 bones per Character for a GPU allowing 8k texture. Recent hardware could manage bigger textures, thus more bones, see hardware capabilities stats here.
- up to 14 active blendshapes per mesh
- up to 4 skinned bones per vertex
- geometry cache animation using the Geometry Animation Behavior
- Rendering Type Mesh Assets repartition
- texture files and diffuse colors
- Shading/texture variation through Switch and HSL shaders
- UDIMs assignment (since 8.1.3)
- UDIMs assignment (mainly for performance issues) (up to 8.1.2)
- most advanced shading features: alpha, bump maps, displacement maps...
- X-Ray display mode (the triangles are not sorted and could be displayed in any random order, leading to a weird rendering)
- per-face shading assignment. If a Mesh has several Shader Groups assigned, only the first one will be assigned to the whole mesh in the previz and you'll have to render the scene to get a visualization of the per-face assignment.
Mesh Render Previz
Mesh render previz will use a Maya mesh to display the Golaem crowd. This allows to display the exact same deformed geometry than the one used in rendering (supporting more than the 4 skinned bones per vertex or 14 blendshapes of the GPU previz), but with limited support for the shading diversity.
Notice that this display mode generates a full Maya geometry at each frame, so is less efficient than the GPU render previz, especially on large crowds.
Previz Lighting
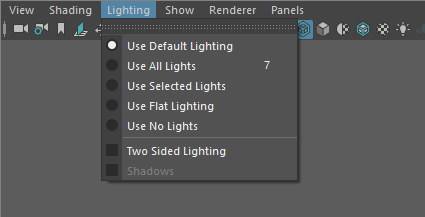
Maya viewport Lighting Panel
Previz supports up to 16 lights which can be either spot, omni, ambient, point or directional Maya lights. Use the Lighting menu in the viewport panel to activate it.
Shadows are supported when using Viewport 2.0
Depth Of Field (DoF)
The display of entities, either in simulation or in cache replay, should be compatible with the depth of field cameras, without any additional configuration. The algorithm matches the one suggested by Maya team.
Harware fog
The display of entities, either in simulation or in cache replay, should be compatible with the Maya hardware fog options.
Preview Shaders
Preview Shaders can be used instead of the actual rendering shaders in case the latter are too complex or not correctly displayed in Maya's viewport. The nodes CrowdSwitchShaderPreviz and CrowdHSLShaderPreviz allow to create shading diversity for preview shaders, just like for rendering.
CrowdSwitchShaderPreviz
The Crowd Switch Shader for previz allows to add visual diversity on Crowd Entities in the viewport (simulation or cache replay) by applying different textures or shaders on the same mesh on different Entities.
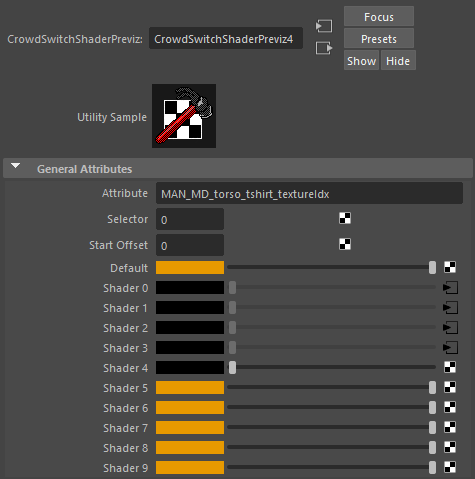
| Attribute | Name of the Shader Attribute to use for the Selector. |
| Selector | Value determining which input will be used. Unlike renderer switch shaders, the Selector doesn't need to be connected to another node, as the Shader Attribute is already given by the Attribute parameter. |
| Start Offset | Value subtracted from the selector value when choosing the shader. It is used to create chains of Switch Shaders when more than 10 inputs are needed |
| Default | Default shader to use if no shader corresponds to the Selector value |
| Shader 0 to 9 |
Input shaders/textures slots corresponding to the Selector value (e.g. if Selector value is 0, Shader 0 will be returned as output) |
CrowdHSLShaderPreviz
The Crowd HSL Shader for previz allows to add visual diversity on Crowd Entities in the viewport (simulation or cache replay) by changing the hue, lightness or saturation of a shader or texture applied on the same mesh on different Entities.
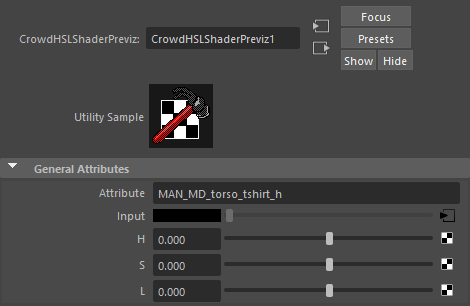
| Attribute | Name of the Shader Attribute to use for the Selector. One vector Shader Attribute or up to 3 float Shader Attributes separated by ; can be used, e.g. to change only the saturation use ;[saturationAttributeName]; |
| Input | Input shader/textures to modify |
| H, S, L | Hue, saturation, lightness parameters (between -1. and 1.). 0 means that the parameter will have any effect on the input shader/texture. Unlike renderer HSL shaders, these values do not need to be connected to other nodes, as the Shader Attributes are already given by the Attribute parameter. |
Viewport 2.0 and DirectX11
Golaem Crowd is compatible with Viewport 2.0 using OpenGL rendering. On some hardware, Maya only allows Viewport 2.0 using DX11 whether you chose OpenGL display. If the Viewport 2.0 display is DX11 entities will only be displayed with orange bounding box and an error message will appear in the console.
Golaem with DX11 display compatibility mode.