Setting footprints on your motions
As of August 5th, 2025, Golaem will no longer provide direct support.
All support for Autodesk Golaem will now be handled exclusively through Autodesk support channels and this website will be deactivated.
Please bookmark the Autodesk Golaem Support section for any future support needs related to Autodesk Golaem packages.
When importing motions, especially in order to be used in a Locomotion behavior, computing and customizing footprints is key for the quality of your animation.
When/Why are footprints used?
- for all motions: for ground adaptation (to know when to adapt feet on the ground or not)
- for motions used in a Locomotion Behavior: to synchronize feets during transitions between motions
Computing footprints
After importing a motion in the Character Maker, go to the bottom of the Motion Tab Panel, and check the boxes of the limbs which should be adapted to the ground (most often the two legs of your character...). Then click on the Compute Footprints button.
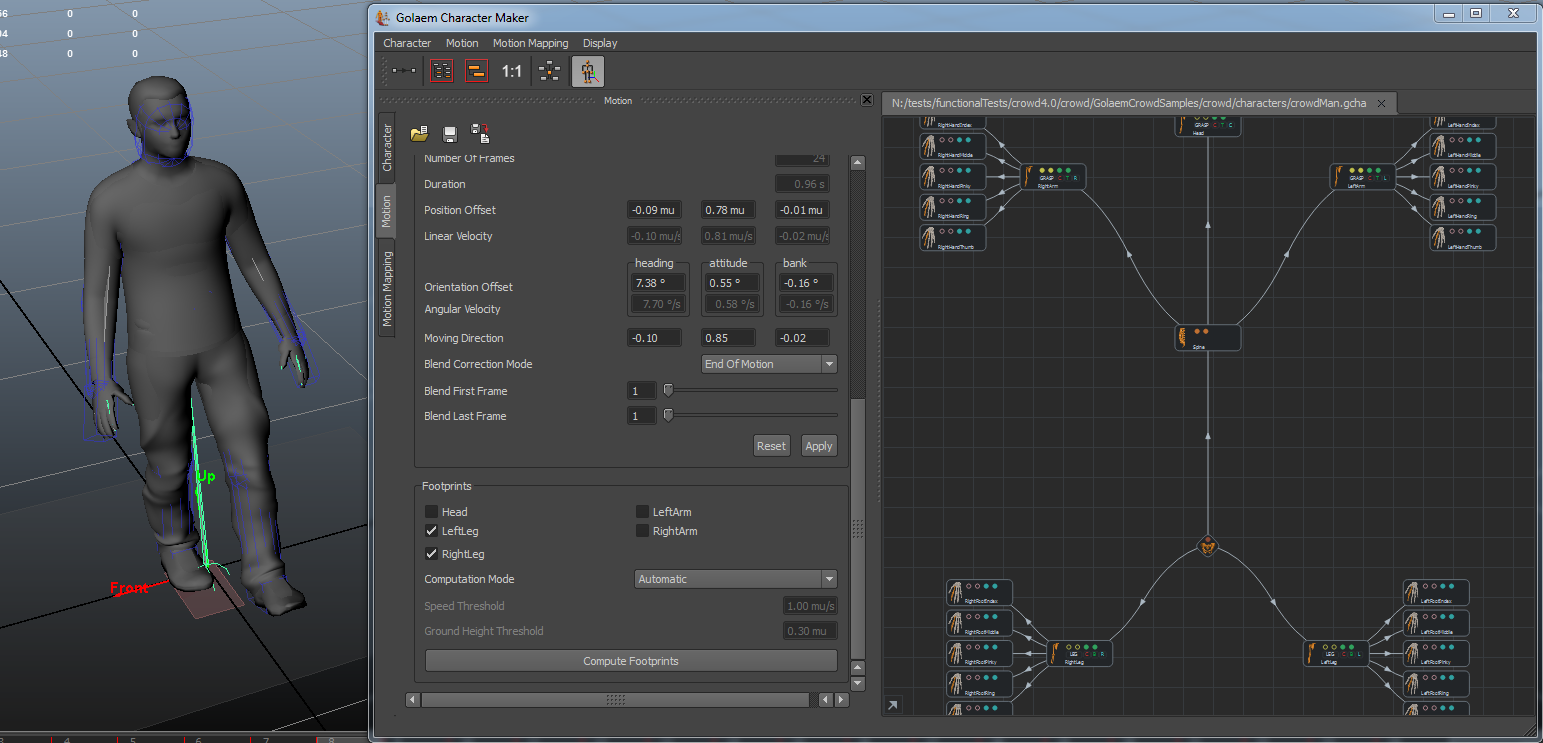
Note that the limbs names you will find in the Footprints panel corresponds to the limbs defined on your character in the CharacterMaker Workspace
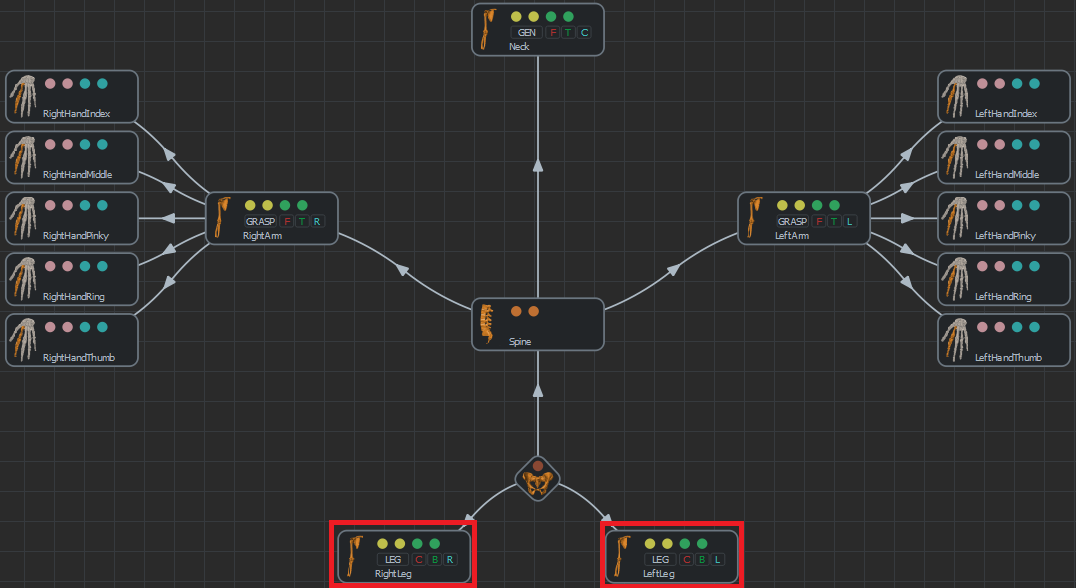
Example of identifying the Channels that need footprints on a loaded Motion
Rewind the simulation, and play it again.
You should see a red box near the feet when they touch the ground. Note that at this point, their exact position or orientation relative to the limbs they are associated with has no meaning. What is important is the timing.
Later, if you want to check footprint on a saved motion, you can click on a character during simulation (and if the footprints option is checked in the Visual Feedback tab / Maya viewport settings), footprints will be displayed as green circles, with a normal vector.
Note that this time, the location and orientation of footprints is what is taken into account to adapt feet on the ground.
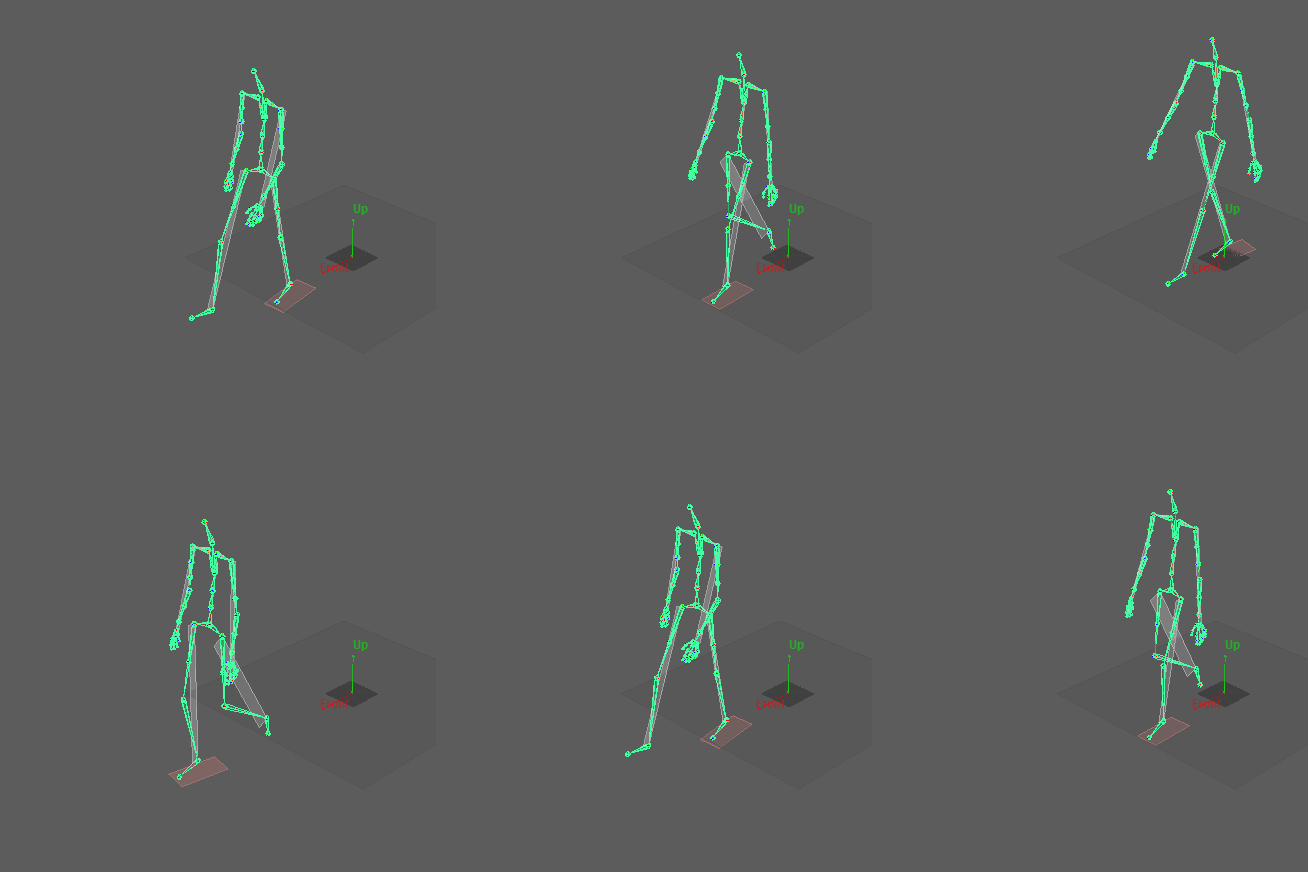
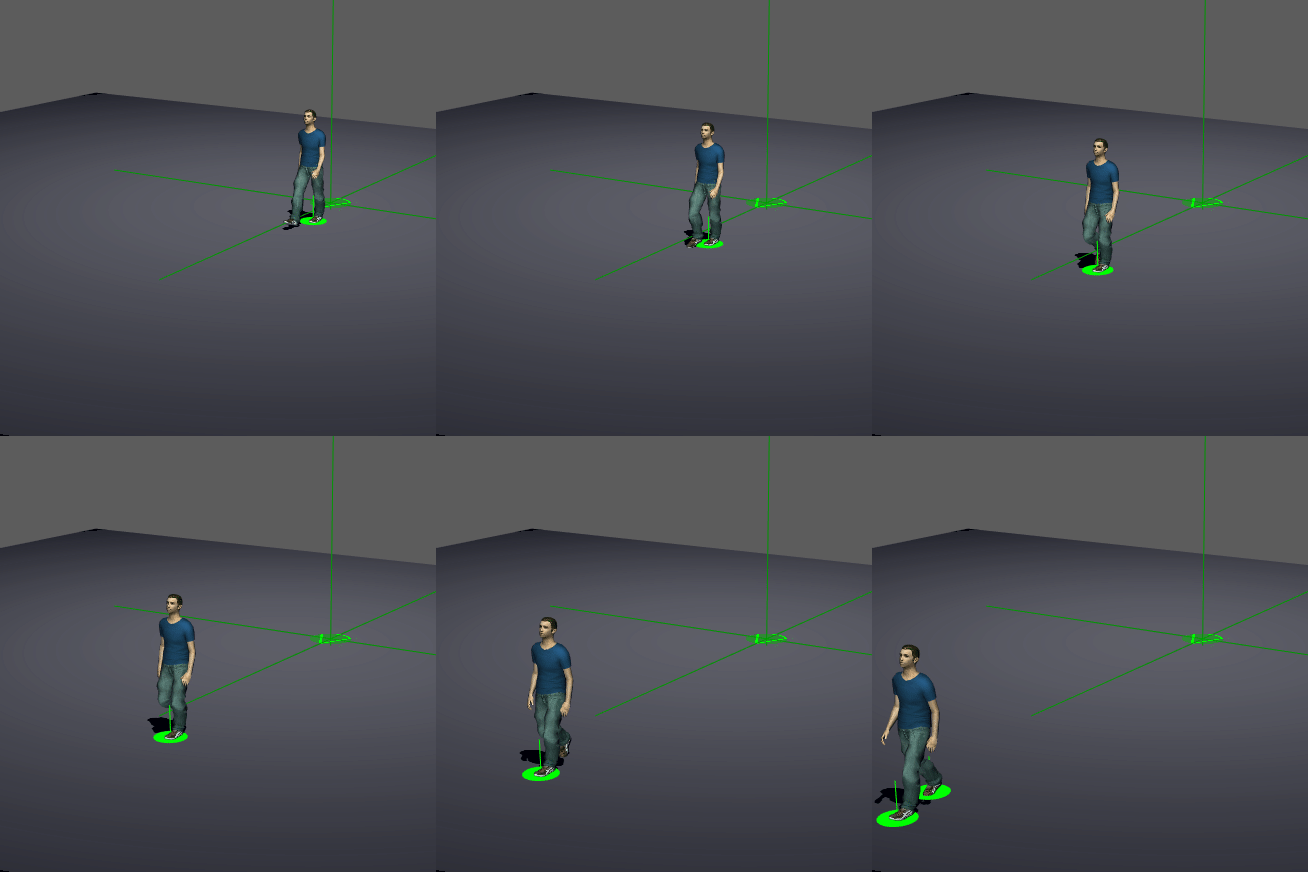
Footprints computed on a walk cycle, visualized using the CharacterMakerLocator (as red planes, left), during simulation (as green circles, right)
Checking Footprints
Basics
There are two big principles defining when a footprint should be set or not
- When the character is supporting itself on a leg, there should be a footprint, otherwise there should not be one
- To be used in a Locomotion Behavior (except for neutral / starting motions), a motion should contain only one animation cycle, hence one and only one period with footprint for each leg
A period when a footprint is ON is called a "support phase".
Best Pratices
Here are some best practices for typical motions used in human locomotion.
Important: In the screenshots below, the frame 0 is always OFF. This is because the motions we imported start at frame 1. After the end of the motion, footprints are also OFF but again, this is not taken into account.
- Standing / sitting / idle motions: both footprints always on

- Walking motions: sequence(s) of on/off footprints with a few frames with both on
Important: Note that if the motion is going to be used in Locomotion, there should be only 1 support phase per limb (as in the screenshot below)
Because motions are looping, what may seem two support phases (period on which the Footprint is ON for a given limb) is actually only one.
- Running motions: sequence(s) of on/off footprints with periods of no footprints in the middle
Important: Note that if the motion is going to be used in Locomotion, there should be only 1 support phase per limb (as in the screenshot below)
Because motions are looping, what may seem two support phases (period on which the Footprint is ON for a given limb) is actually only on
- Other motions for which no ground adaptation on feet should be done (rare case)
No footprints at all
Examples
Bad footprints lead to wrong ground adaptation
For example when using a sit motion, if there are no footprints in the motion, no ground adaptation will be done, and the character will not lower its root bone, and therefore float in the air. If footprints are found, provided the ground adaptation criterion are met (terrain... see here), the character sits correctly
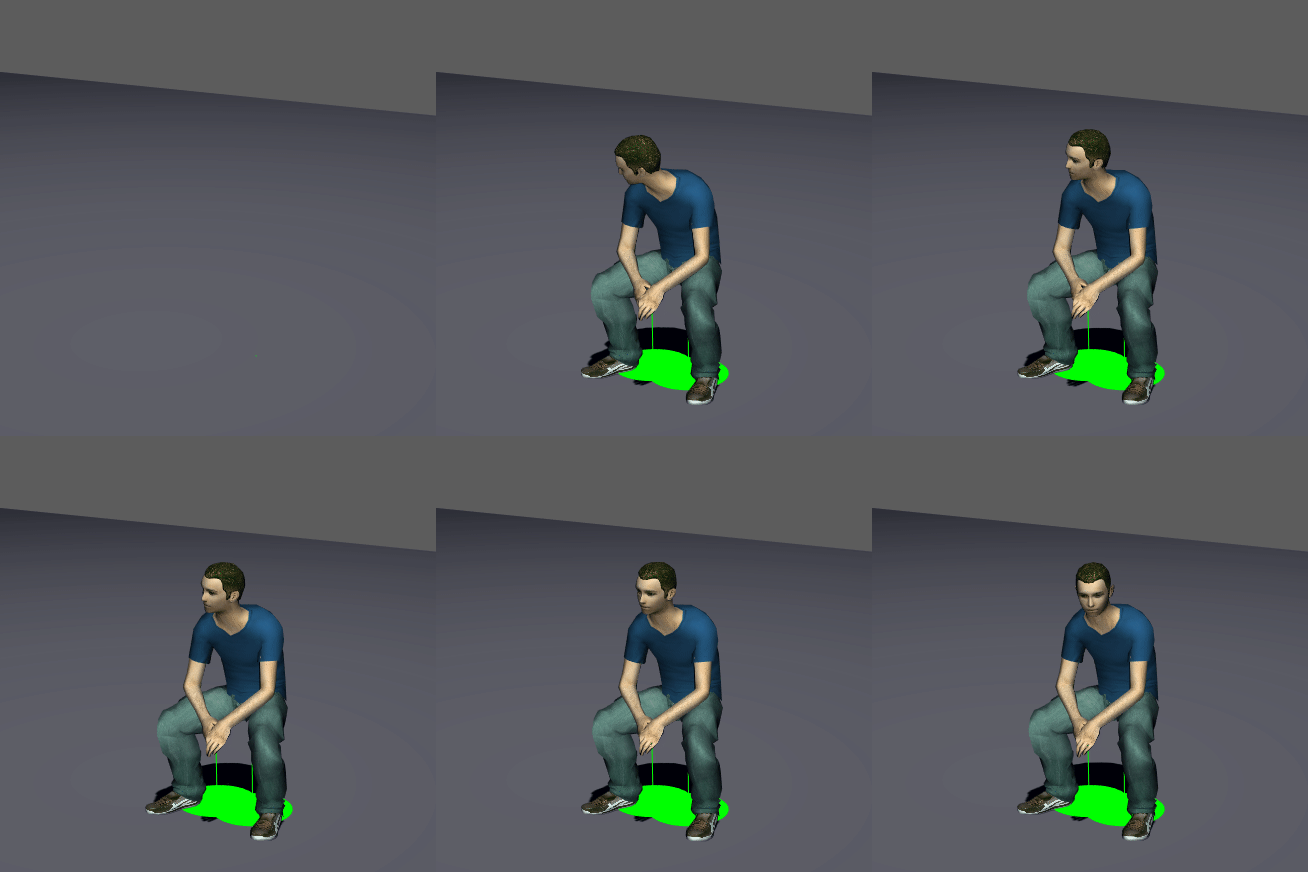
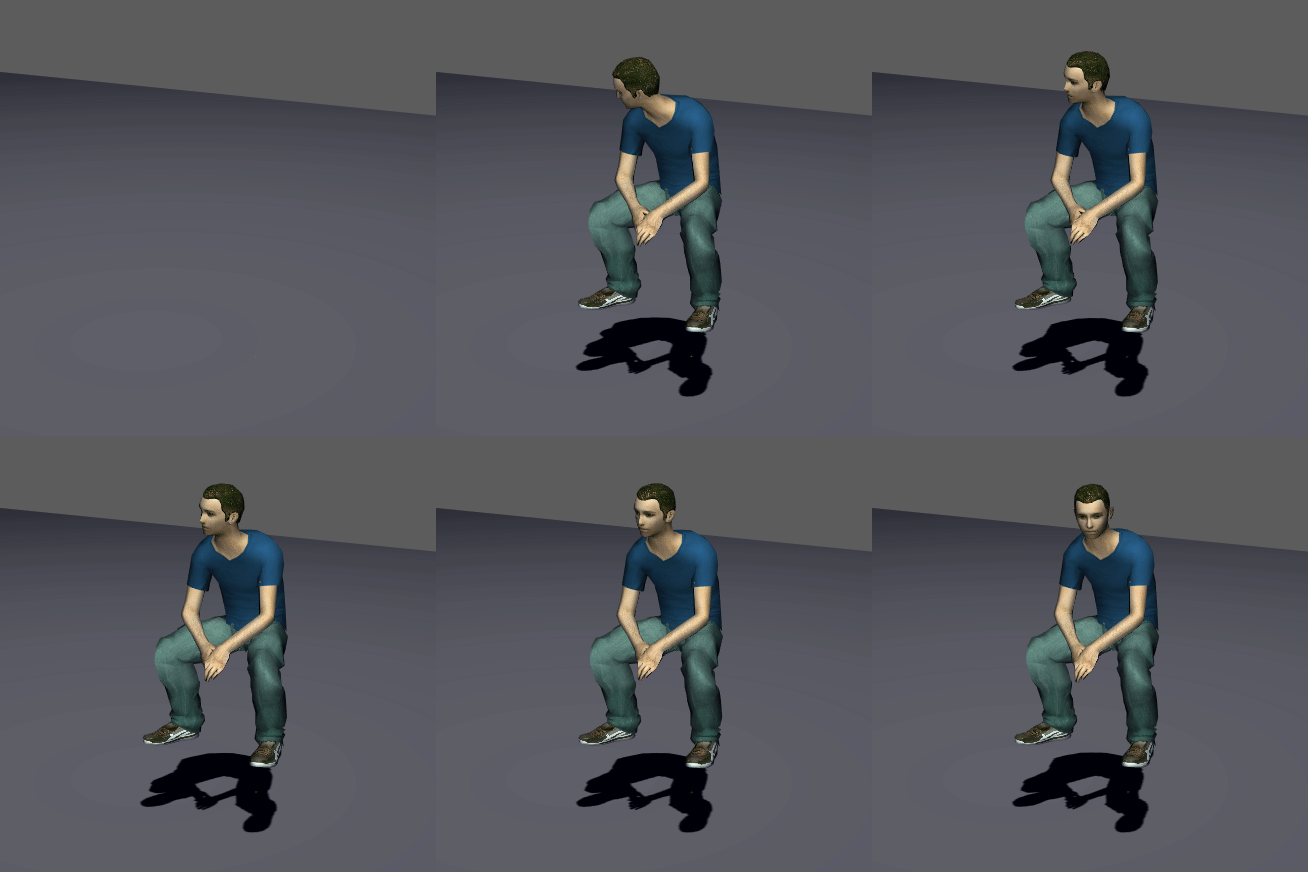
The same motion with or without footprints (with default ground adaptation)
Even when footprints are computed for a motion, if they are wrong they can lead to poor ground adaptation, as shown below
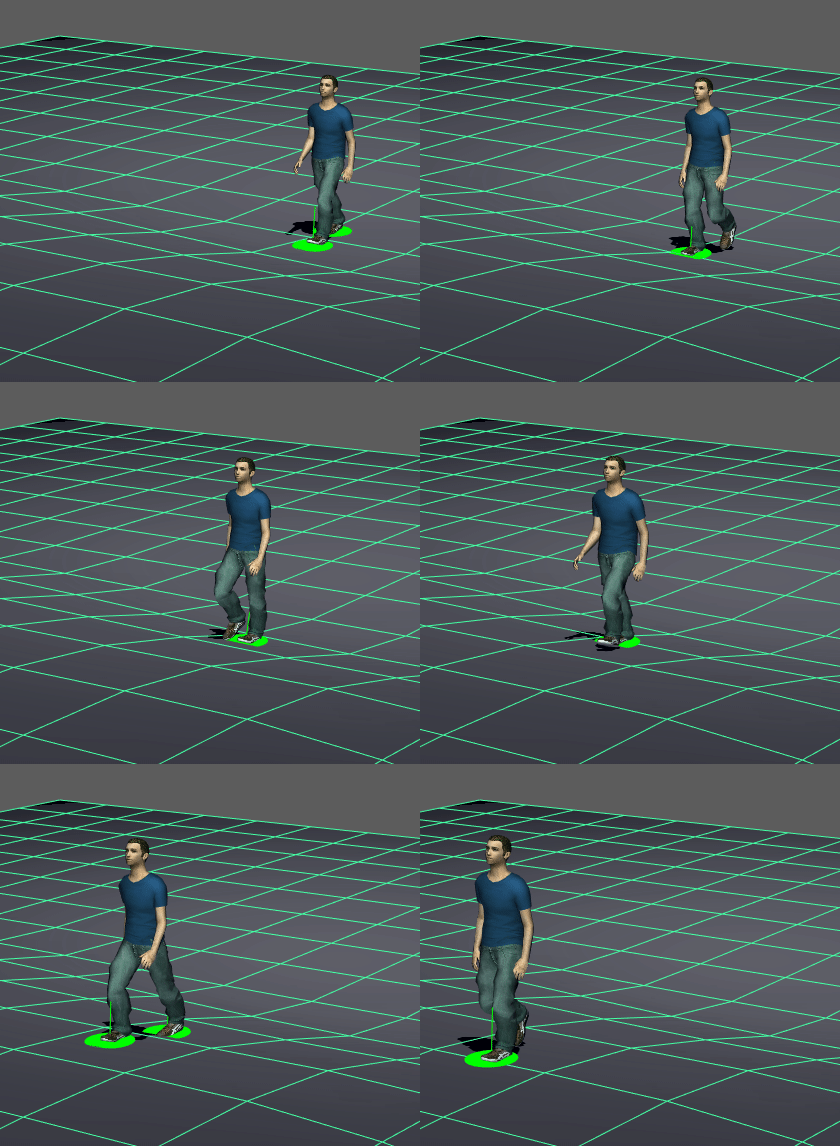
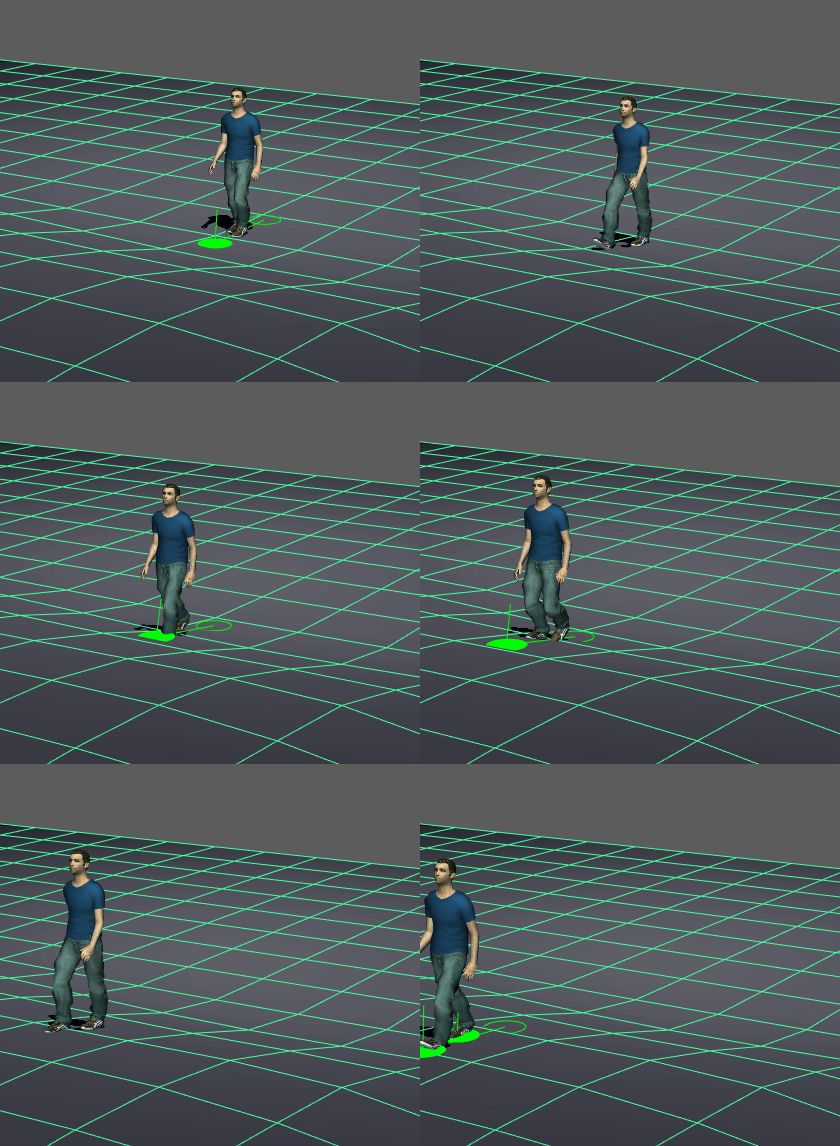
The same motion with correct footprints (left) and incorrect (right). Look how feet are wrongly adapted on the image right.
Bad footprints will result in bad Locomotion
The Locomotion Behavior decides when to make transitions between motions based on footprints (to make sure feet are in the same support / non-support state for each motion used in transition). If footprints are wrong in one of these motions, it will result in bad animation.
To show this, we setup a simple scene with Locomotion, which navigation speed is set to force the character to mix 2 motions: a walk slow motion and a walk normal motion. We used the two different walk normal motions shown in the ground adaptation section (with correct / incorrect footprints).
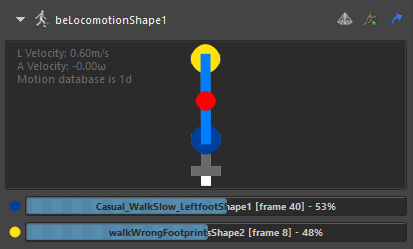
The only difference in each of the images below is the way the footprints are set in these walk normal motions.
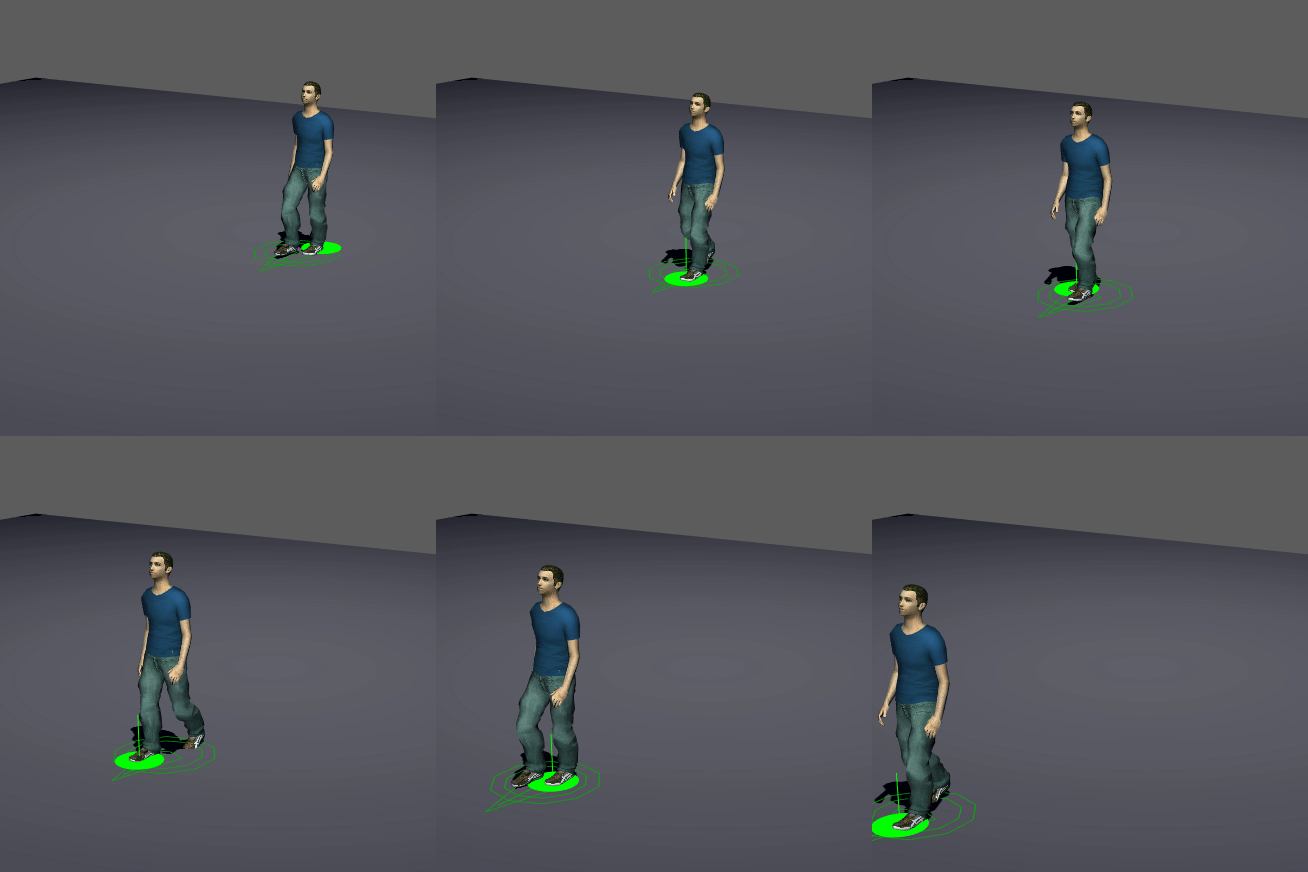
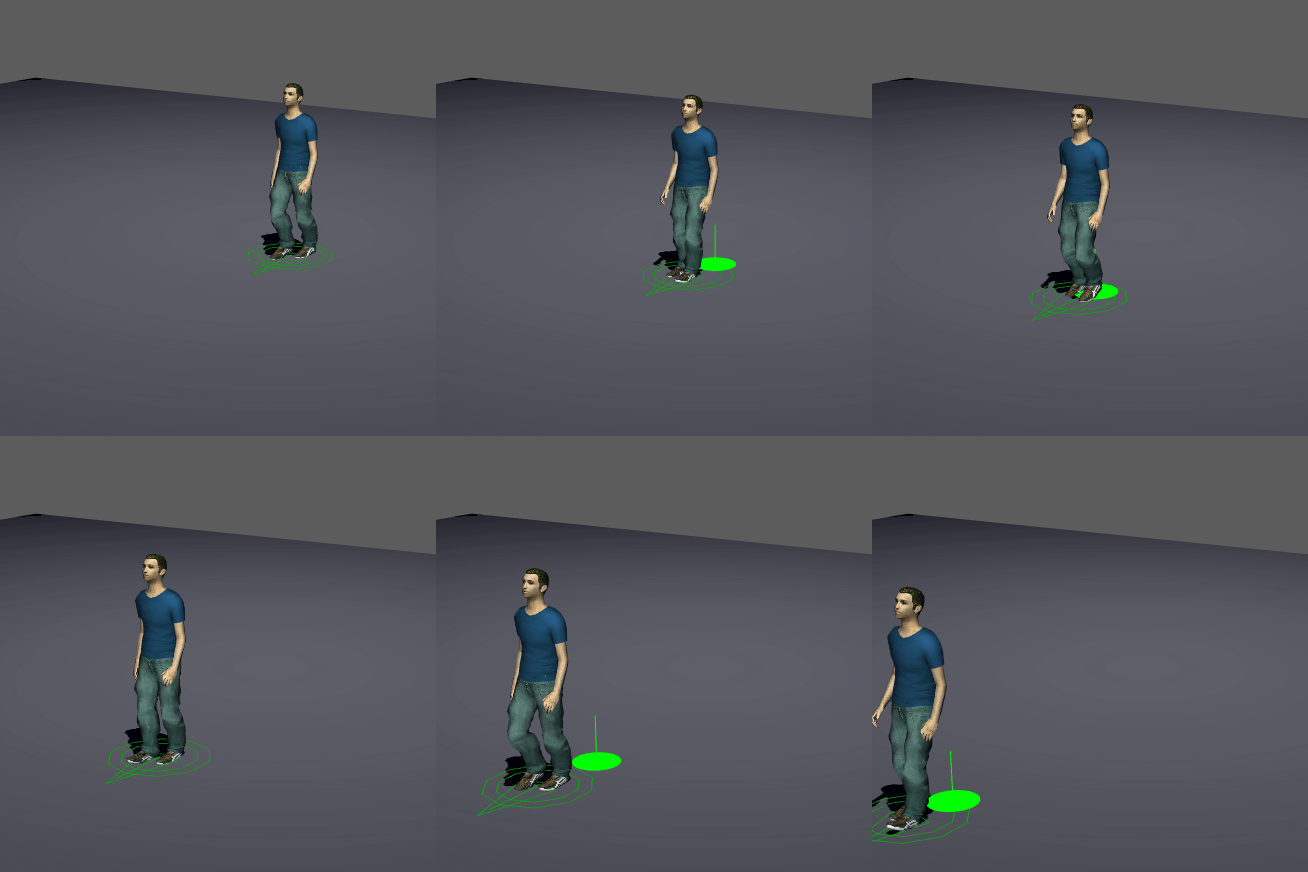
Locomotion with a Walk Normal motion with correct footprints (left) and wrong footprints(right).
The footprints on the Walk Normal motions can be seen in the Ground Adapt section of this page
Too much support phases in a motion will result in bad locomotion
Even when footprints are set correctly, if motions (except for neutral / starting motions) have more than one support phase per foot (i.e. continous period where one foot is in contact with the ground), feet synchronization will not happen and the resulting animation will be ugly.
In this case, you need to edit the motion to keep only one support phase per foot.
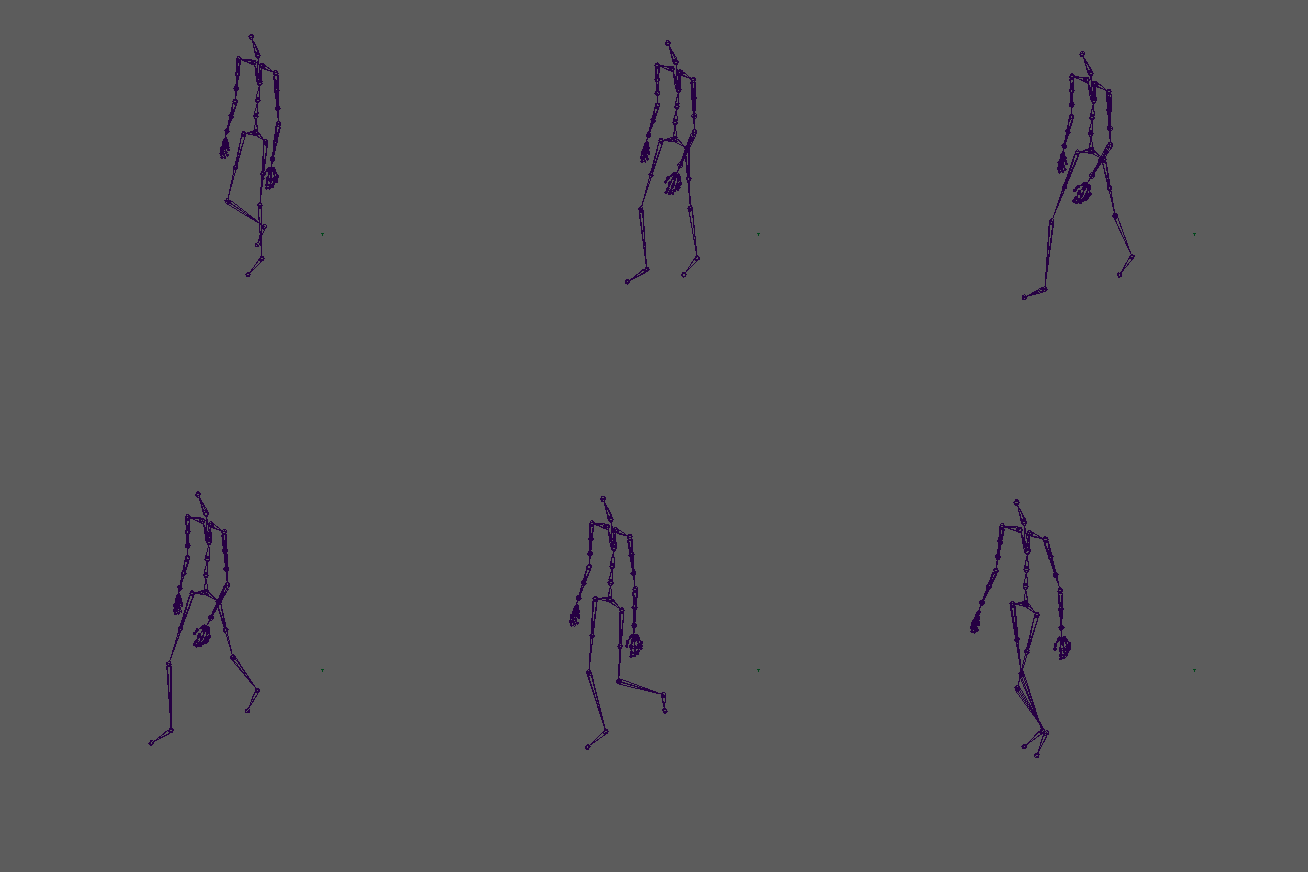
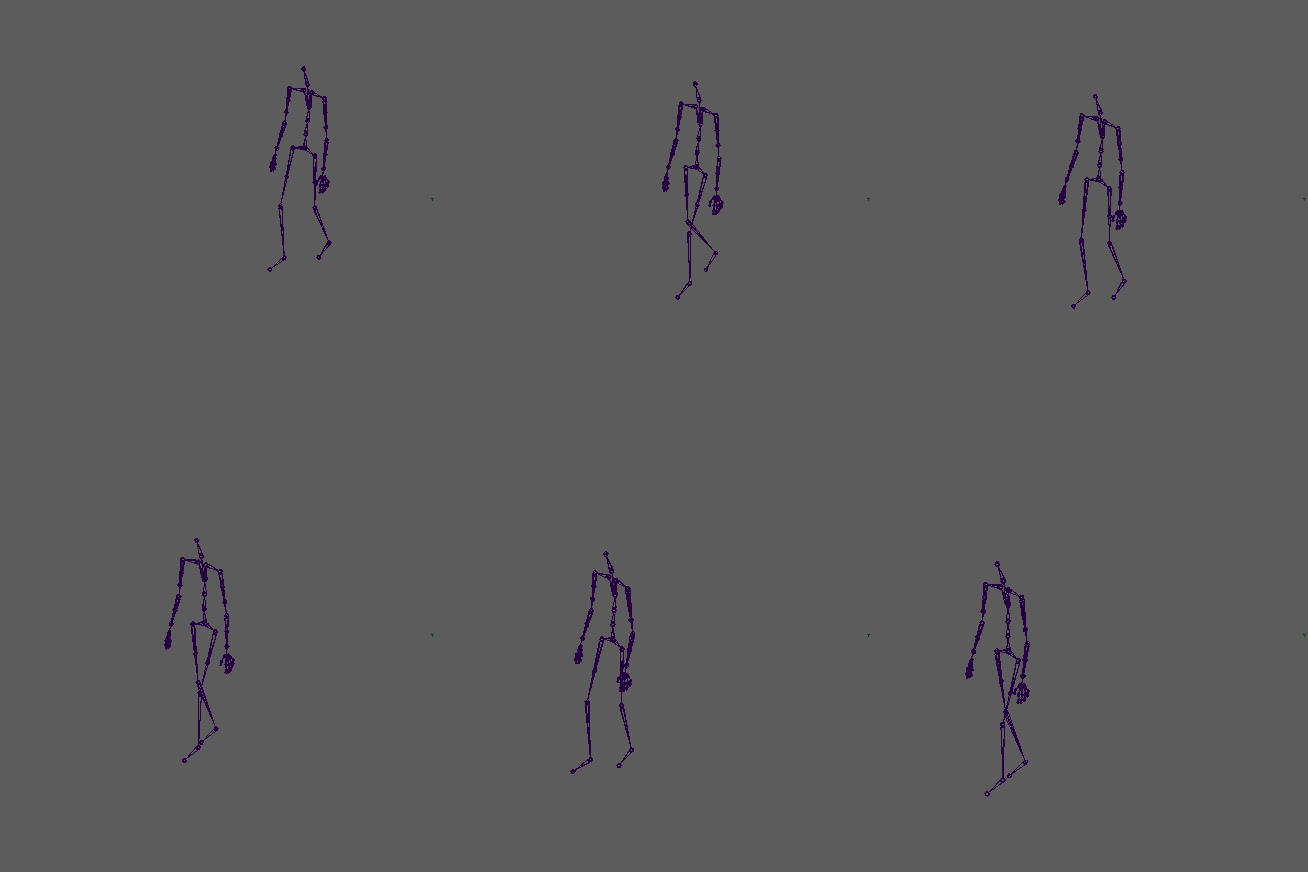
Walk motion with only one support phase per foot (left), with several support phases per foot (right)
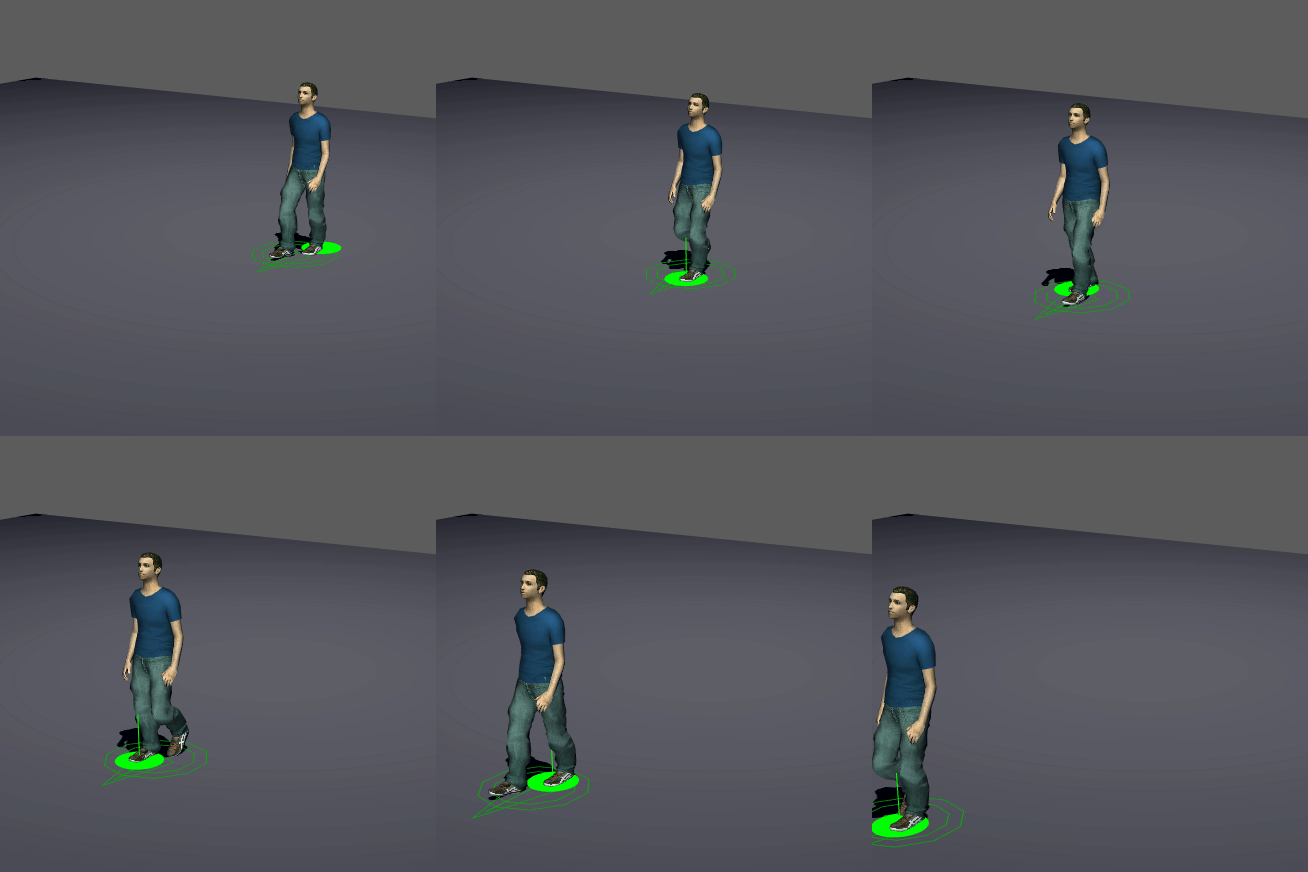
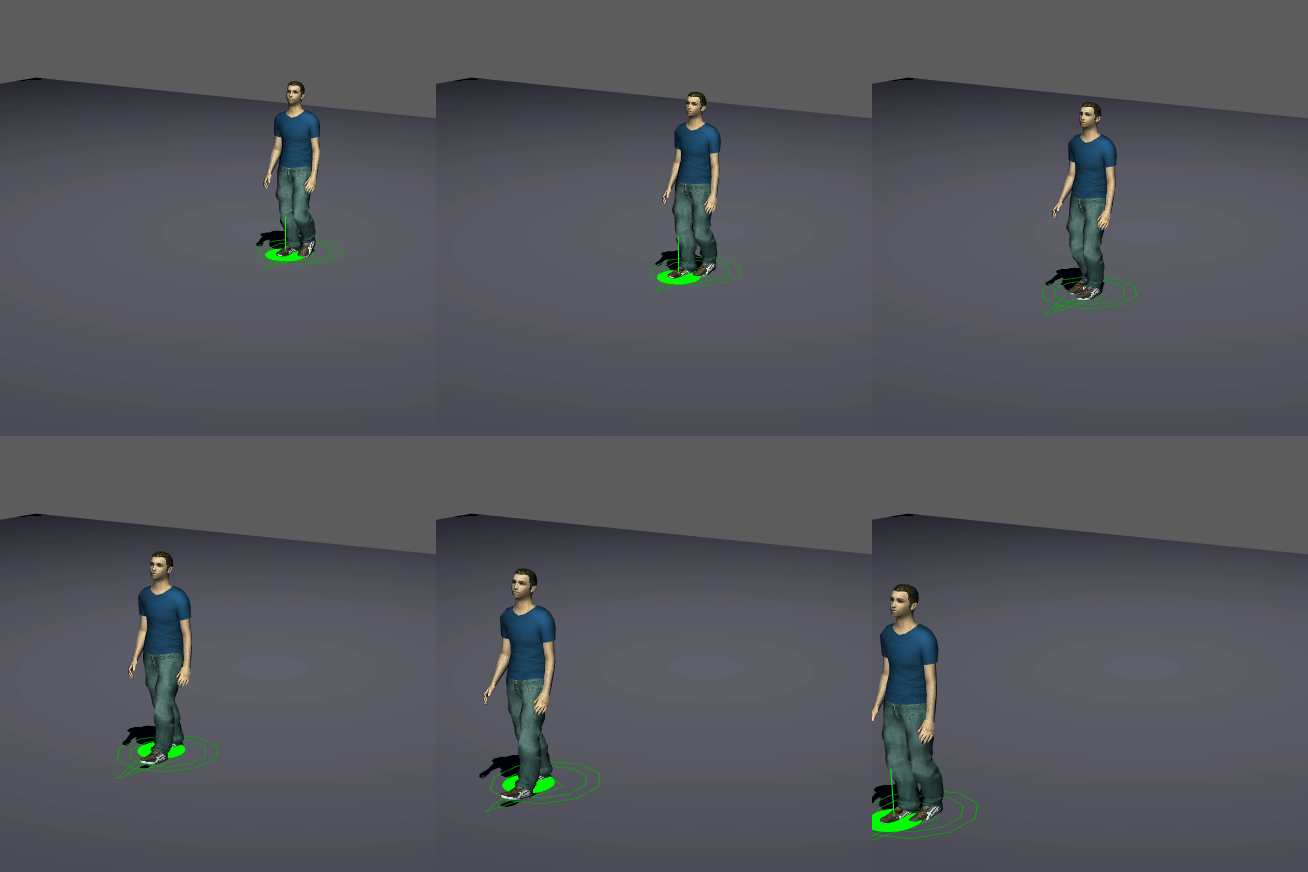
Locomotion set with all motions with one support phase per foot (left), or several support phases per foot on 1 motion (right)
Fine tuning footprints
There are two ways you can fine-tune footprints
- with the Manual computation mode
- by manually editing the keyframe set on Character Maker Locator
Manual Computation Mode
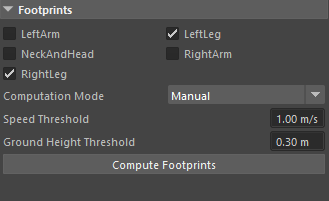
The manual computation mode enables to define thresholds to compute footprints.
If the feet speed/height are below these thresholds they will considered as in contact with the ground, and a footprint will be added. Do not forget to press the Compute Footprints button after setting your thresholds. The resulting footprint can be seen at once in the viewport by scrubbing the timeline.
Note that depending on the scale of the skeleton used in the animation, you may need to multiply the default value by 10, 100... to actually see some footprints computed.
Keyframing footprints
Footprints can be edited manually by editing keys on the Character Maker Locator node. When loading an animation, the Character Maker Locator node creates an attribute for each Motion Channel (each Limb).
Channel Box Editor
The Maya Channel Box editor can be used to edit existing keys or add new ones.
Select a key in the Maya Time Slider:

The next step is to edit the value for the wanted Channels in the Channel Box, and set a key on that value (right click -> Key Selected)
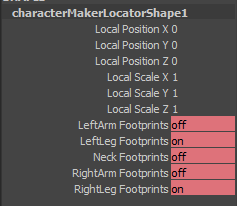
New footprints can be added by adding a new key to the Time Slider.
Graph Editor
The Maya Graph Editor can be used to edit existing footprints or add new ones, as in the example below:
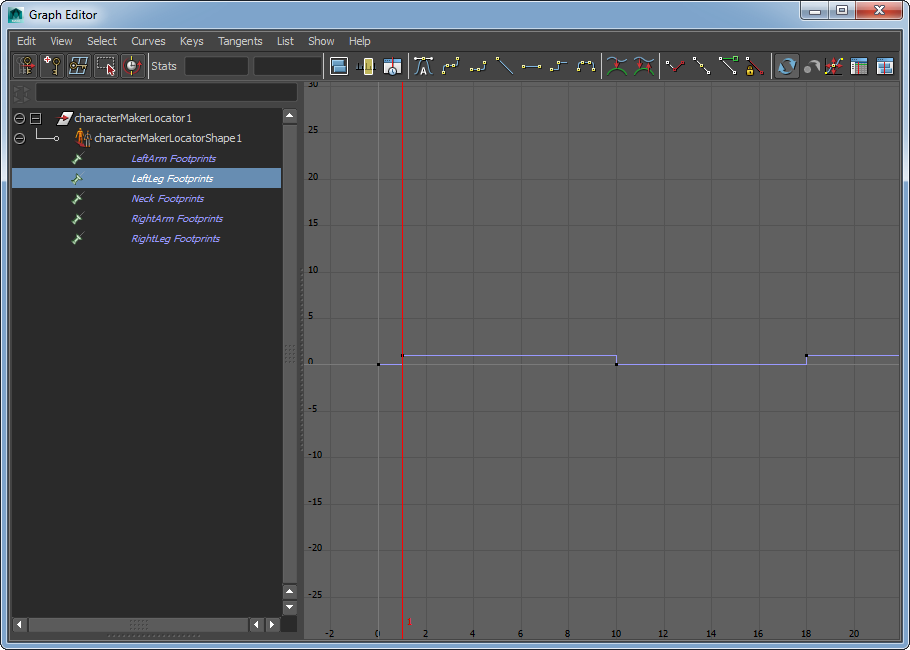
Editing Footprints in the Graph Editor
Note that keys values should be set to 0 or 1.
Editing existing .gmo files footprints
To avoid reimporting the motion from scratch, it is possible to open an existing .gmo file with the Character Maker, edit footprint and save the motion again.


